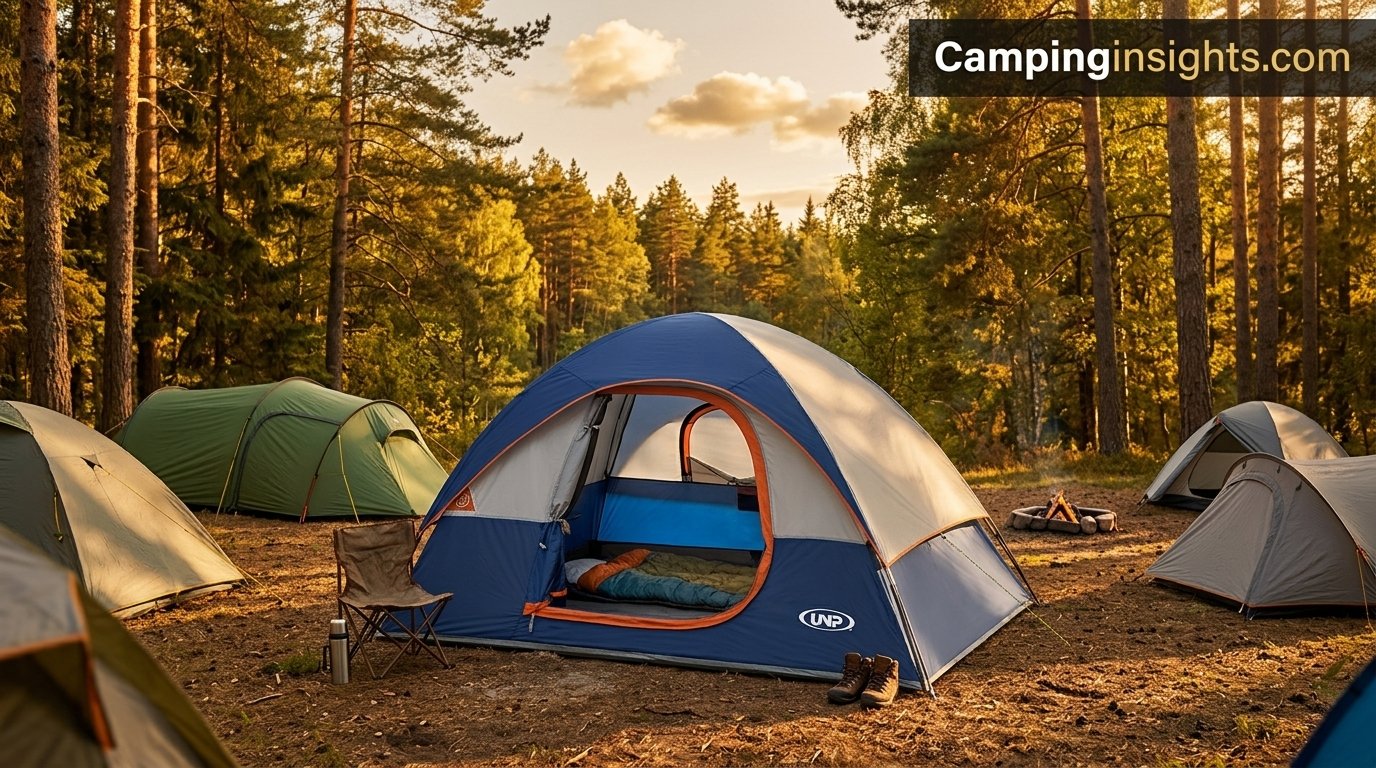
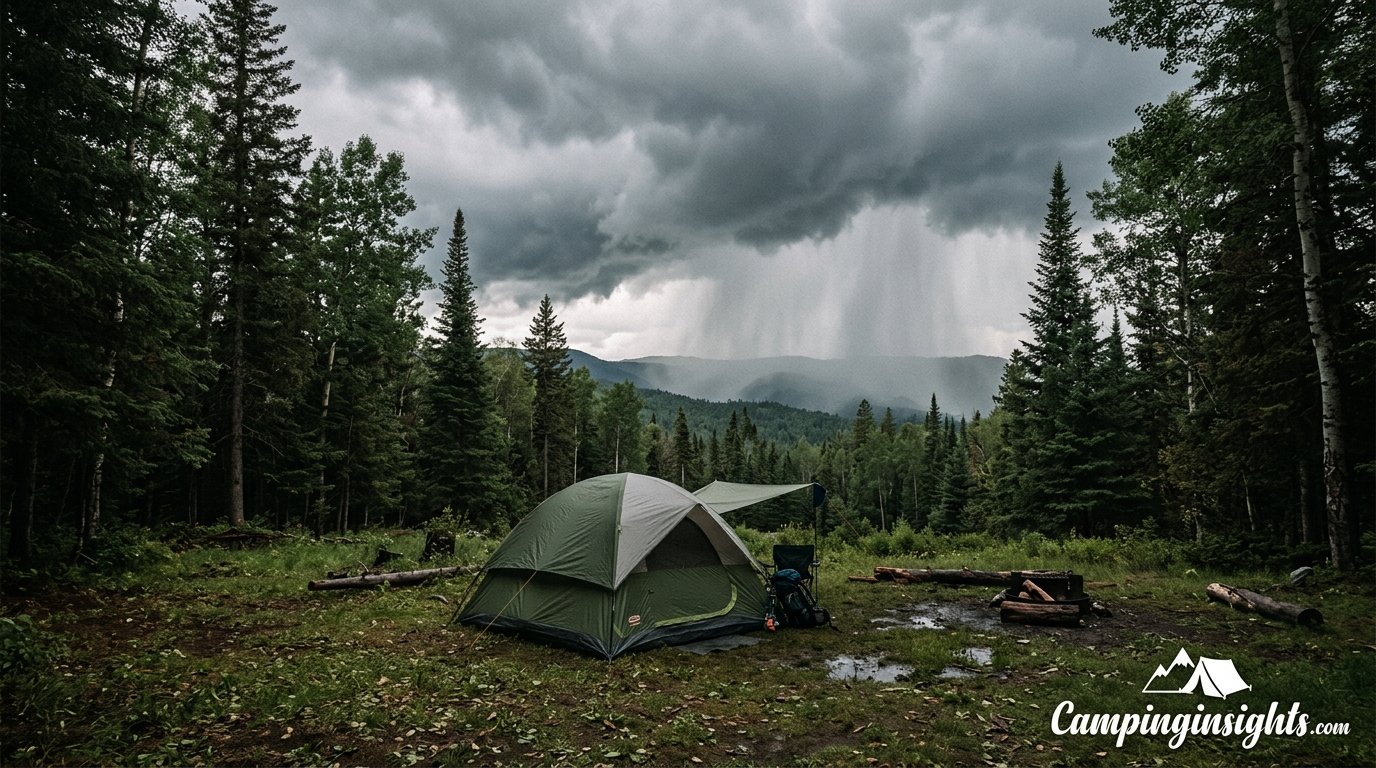
You have spent weeks planning your camping trip. The gear is packed, the food is prepped, the playlist is queued, and the car is loaded. You arrive at the campground, pick the first open spot you see, and start setting up. By midnight you are lying on a three-degree slope, your sleeping bag has slowly migrated to the downhill side of the tent, a drainage channel is forming under your groundsheet, and the neighbor’s generator is rattling like a lawn mower six feet from your head. This is what happens when campsite selection gets treated as an afterthought.
The truth is that choosing where to pitch your tent is one of the single most impactful decisions you will make on any camping trip. It affects your comfort, your safety, your sleep quality, how dry you stay, how warm you stay, and how much you actually enjoy being outdoors. A great campsite can turn a mediocre trip into an unforgettable one. A bad one can make you want to drive home at 2 a.m.
This guide walks you through every factor that matters — from understanding the different types of campsites available to reading terrain, evaluating water sources, assessing wind and sun patterns, identifying hazards, and adapting your approach for rain, snow, desert heat, or coastal conditions. Whether you are a first-time camper using a beginner camping checklist or a seasoned backcountry hiker looking to refine your site-selection instincts, there is something here for you. Consider it the field manual for one of camping’s most underrated skills.
Why Campsite Selection Is the Most Underrated Camping Skill
Ask experienced campers what separates a great trip from a miserable one, and most of them will not start with the tent, the sleeping bag, or the cooler. They will start with the campsite. The spot you choose determines how well your gear performs, how protected you are from the elements, and how much rest you actually get between sunset and sunrise. It is the foundation everything else sits on — and unlike most camping gear, you cannot buy a better version of it at the store.
A campsite that sits in a natural drainage will flood in a downpour no matter how waterproof your tent is. A site on exposed high ground will turn into a wind tunnel no matter how many guylines you stake. A spot on a root-covered slope will wreck your sleep no matter how thick your sleeping pad is. The campsite amplifies or undermines every other decision you have made, which is why learning to choose one well has such a disproportionately large return.
It Affects Safety First
The safety dimension of campsite selection is easy to underestimate until something goes wrong. Flash floods, falling branches from dead trees, lightning strikes on exposed ridges, and encounters with wildlife are all risks that can be dramatically reduced — sometimes to nearly zero — simply by choosing the right spot. A campsite in a dry riverbed might feel flat and spacious, but if a storm rolls through upstream, that bed becomes a channel in minutes. A site beneath a stand of dead pines might be shady and scenic, but a single widow-maker branch can come down without warning in a gust of wind.
Safety-oriented site selection is not about paranoia. It is about reading the landscape with the same awareness you would bring to driving a car — recognizing what the terrain is telling you about water flow, wind patterns, and structural risks, then making a calm, informed decision about where to place yourself for the next eight to twelve hours.
It Determines Comfort and Sleep Quality
Comfort is where most campers first notice the impact of campsite choice, usually because they chose poorly. Sleeping on even a gentle slope is exhausting after an hour — your body slowly slides downhill, your sleeping pad bunches, and you wake up pressed against the downhill wall of the tent. A site with poor drainage means waking up in a puddle after an overnight rain. A spot with no shade means your tent turns into a greenhouse by 7 a.m. and you are forced out of bed by heat rather than waking naturally.
Conversely, a well-chosen campsite — flat, slightly elevated, well-drained, with morning sun and afternoon shade — can make even a basic tent feel luxurious. If you are investing in quality gear, it makes sense to give that gear the best possible conditions to work in. If you are looking to upgrade your sleep system, pairing a new tent with smart campsite selection will get you further than any single gear purchase. Our guide to the best camping tents covers what to look for in a shelter, but even the best tent needs a good spot to shine.
It Shapes the Entire Trip Experience
Beyond safety and sleep, the campsite you choose influences the social and experiential side of your trip. A site near a beautiful creek, with space for a fire ring and room to spread out chairs, creates a natural gathering spot that makes every meal and every evening better. A cramped, noisy site next to the campground bathroom makes everything feel like a chore. For families especially, having room for kids to play safely within sight of the tent changes the entire dynamic of a trip.
The best campsite selectors develop an eye for this — they look not just at the ground where the tent will go, but at the whole picture: the views, the sounds, the space for cooking and socializing, the access to trails or water, and the overall feel of the spot. It is part science and part art, and like most skills, it gets dramatically better with practice.

Coleman Sundome Camping Tent
A reliable, easy-to-set-up tent that pairs perfectly with a well-chosen campsite. Available in 2, 3, 4, and 6-person sizes.
Check Price on AmazonStep 1 – Understand the Different Types of Campsites
Before you can choose the best spot, you need to know what kind of camping experience you are looking for — and what types of sites are available to you.
Not all campsites are created equal, and the type of site you choose will set the stage for everything that follows. Campsites generally fall into three broad categories, each with its own trade-offs in terms of amenities, accessibility, privacy, and the level of self-sufficiency required. Understanding these categories helps you match your expectations to reality and focus your site-selection skills on the factors that matter most in each context.
Established Campgrounds
Established campgrounds are the most accessible option for the majority of campers. These are designated camping areas managed by a government agency (National Park Service, U.S. Forest Service, state parks, county parks) or a private operator. They typically offer numbered or named individual sites, each with a defined footprint that may include a tent pad, a picnic table, a fire ring or grill, and access to shared facilities like restrooms, water spigots, and sometimes showers or dump stations.
The advantages of established campgrounds are obvious: you do not need to scout for a flat spot, you have facilities nearby, and there is usually some level of management in terms of safety and noise. Many accept reservations, which means you can plan ahead with confidence. The trade-off is that these sites can be crowded, noisy, and expensive — particularly in popular national parks during peak season. Site spacing varies enormously; some campgrounds offer generous buffers between sites, while others pack tents so close together that you can hear your neighbor unzipping their sleeping bag.
Dispersed Camping
Dispersed camping — sometimes called wild camping, boondocking, or primitive camping — means setting up camp outside of a designated campground, typically on public lands managed by agencies like the U.S. Forest Service or the Bureau of Land Management. There are no marked sites, no facilities, no reservations, and usually no fees. You find your own spot, set up your own camp, and leave no trace when you depart.
This is where campsite-selection skill becomes truly essential. Without numbered pads and fire rings to guide you, the entire responsibility for choosing a safe, comfortable, low-impact site falls on your shoulders. The payoff is enormous: solitude, freedom, and the ability to camp in genuinely wild places that most campground campers never see. Dispersed camping is legal on most National Forest and BLM land, but regulations vary by district, so always check local rules before you go.
Backcountry Sites
Backcountry camping takes dispersed camping a step further — you are hiking into a remote area, carrying everything you need on your back, and camping in places that may see only a handful of visitors per year. Some backcountry areas have designated campsites (cleared tent platforms, bear boxes, pit toilets) along popular trails, while others are completely undeveloped and require you to find your own spot based on the terrain.
Backcountry site selection demands the highest level of awareness because you are farther from help, more exposed to the elements, and camping in ecosystems that may be especially fragile. The principles in this guide apply across all three types, but the further you get from a developed campground, the more each factor matters and the more self-reliant you need to be. If you are new to camping in general, starting with an established campground and gradually working your way toward dispersed and backcountry trips is a smart progression.
| Factor | Established | Dispersed | Backcountry |
|---|---|---|---|
| Cost | $15–$50+/night | Free | Free (permit may be required) |
| Reservations | Usually yes | No — first come | Sometimes for popular areas |
| Amenities | Restrooms, water, tables, fire rings | None | Minimal or none |
| Privacy | Low to moderate | High | Very high |
| Skill Required | Low | Moderate to high | High |
| Site Selection Needed | Choose among numbered sites | Full scouting required | Full scouting + terrain analysis |
| Best For | Beginners, families, road trips | Solitude seekers, experienced campers | Hikers, backpackers, adventure campers |

Heavy Duty Aluminum Tent Stakes
Essential for securing your tent on any terrain — from soft forest loam to rocky ground. These stakes won’t bend when you need them most.
Check Price on AmazonStep 2 – Read the Terrain Before You Pitch
The ground beneath your tent tells you everything about how water moves, how wind behaves, and how comfortable your night will be. Learning to read it is the most valuable site-selection skill you can develop.
Terrain is the single most important factor in campsite selection because it governs two things simultaneously: drainage and comfort. A site that drains well keeps you dry in rain. A site that is flat and clear of obstacles lets you sleep comfortably. Most campsite problems — from flooding to sliding off your sleeping pad — trace back to ignoring what the terrain was clearly telling you before you pitched.
Look for Gentle Slopes and Elevated Ground
The ideal campsite sits on slightly elevated ground — not a hilltop (which exposes you to wind and lightning), but a gentle rise or bench above the surrounding terrain. Even a few inches of elevation makes a dramatic difference in how water moves around your tent during rain. Water flows downhill; if your site is the lowest point in the immediate area, every bit of runoff from the surrounding terrain will eventually find its way to you.
A gentle slope of two to five degrees is actually preferable to dead-flat ground because it encourages water to drain away from your tent rather than pooling underneath it. The key word is “gentle” — anything steeper than about five degrees becomes uncomfortable to sleep on, and your body and gear will slowly migrate downhill throughout the night. If you are unsure about the angle, lie down on the ground before setting up. If you can feel yourself sliding, the slope is too steep.
Avoid Low-Lying Areas, Depressions, and Dry Washes
This is the single most common campsite-selection mistake, and it is the one most likely to ruin your night. Low-lying areas — dips, hollows, creek beds, dry washes, and any terrain feature that collects water — should be treated as off-limits for tent placement, no matter how flat and inviting they look. A dry creek bed on a clear evening can become a rushing channel in under an hour if a storm moves through the watershed above you. This is not a rare occurrence; it happens every camping season to people who knew better but thought the weather would hold.
Use the “Look Up, Look Down, Look Around” Method
A useful framework for terrain assessment is to look in three directions before committing to a spot:
- Look up: Are there dead branches, leaning trees, or unstable rock faces above you? These are overhead hazards (covered in detail in Step 5).
- Look down: What is the ground surface like? Is it sloped, wet, covered in roots or rocks? Is there evidence of water flow (channels, erosion lines, dark moist soil)?
- Look around: Are you in a depression? Is there higher ground nearby that would drain toward you? Are you in a natural wind corridor? Are there trails (animal or human) running through the spot?
Developing this habit — it takes about thirty seconds once it becomes automatic — will catch the vast majority of bad campsite choices before you commit to them.

Versatile Camping Tarp
A multi-purpose tarp adds a critical layer of ground protection under your tent and doubles as a rain shelter for your cooking and gear area.
Check Price on AmazonStep 3 – Evaluate Water Sources and Drainage
Water is both your best friend and your worst enemy at a campsite. The trick is staying close enough to benefit from it — without putting yourself in its path.
Camping near a water source — a river, lake, stream, or spring — has obvious appeal. You have easy access to water for cooking, cleaning, and filtering for drinking. The sound of a running stream is one of nature’s most effective white-noise machines. And the scenery tends to be spectacular. But water proximity comes with real risks that need to be weighed carefully, and getting the distance wrong in either direction can create serious problems.
The 200-Foot Rule
The widely accepted Leave No Trace guideline is to camp at least 200 feet (about 70 adult steps) from any lake, stream, river, or other water source. This distance serves multiple purposes: it protects the water from contamination (soap, food waste, human waste), it protects fragile riparian vegetation along the water’s edge, and it protects you from the risks that come with being too close to water — namely flooding, moisture, and insects.
Two hundred feet is far enough to be safe in most situations but close enough that fetching water is still convenient. If you are camped at a lake, 200 feet back from the high-water mark is the target. For rivers and streams, measure from the bank. In some jurisdictions — particularly in national parks and designated wilderness areas — this is not just a guideline but a legal requirement.
Benefits of Camping Near Water
When done properly, camping within reasonable distance of a water source has clear advantages:
- Convenience: Easy access to water for cooking, cleaning, and filtering for drinking. You do not want to be hauling water 500 yards every time you need it.
- Cooling: Bodies of water moderate air temperature, making hot summer nights more bearable near a lake or river.
- Scenery and ambiance: The aesthetic and auditory experience of camping near flowing water is hard to beat. The sound masks other noise and creates a deeply relaxing environment.
- Activity access: Fishing, swimming, kayaking, and other water activities are right at your doorstep.
Risks of Camping Too Close to Water
- Flooding: River and lake levels can rise rapidly, especially during or after storms. A site that is dry at 6 p.m. can be underwater by 3 a.m.
- Condensation and dampness: Proximity to water increases ambient humidity, which can lead to significant condensation on tent walls. If this is a recurring problem, our article on why your tent gets wet inside covers the mechanics in detail.
- Insects: Mosquitoes, gnats, and other biting insects breed near standing water. The closer you are, the worse the bug pressure.
- Wildlife encounters: Animals come to water to drink — particularly at dawn and dusk. Camping on a game trail to a water source is asking for an unexpected visitor.
Reading Drainage Patterns
Beyond proximity to obvious water sources, pay attention to how the land drains around your potential campsite. Look for subtle signs of water flow: erosion channels, lines of darker soil, clusters of water-loving plants (like ferns or willows), and smooth stones in otherwise grassy areas. These indicate where water moves during rain, and your tent should not be in that path. Even a light rain can turn a subtle drainage channel into a soaking problem for a tent placed in its course.
If you are camping in an area prone to rain, pairing good drainage awareness with proper tent waterproofing gives you the best protection. Our guide on how to make a tent waterproof walks through the full process of reproofing your shelter.
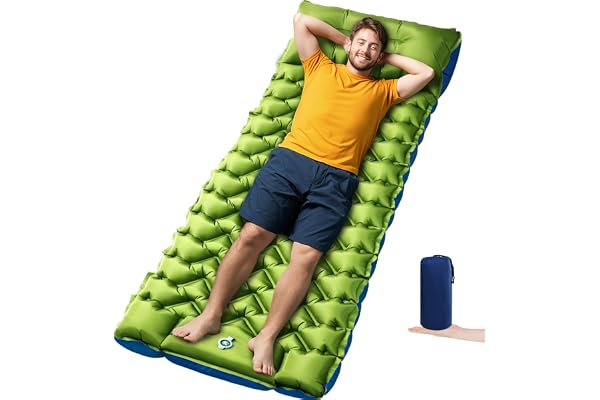
Self-Inflating Sleeping Pad
Even the best campsite can have imperfect ground. A quality sleeping pad smooths out minor rocks, roots, and unevenness for a restful night.
Check Price on AmazonStep 4 – Assess Wind Exposure and Natural Shelter
Wind can steal your warmth, batter your tent, and amplify every other discomfort. Finding — or creating — natural wind protection is a critical part of choosing a campsite.
Wind is one of those factors that many campers do not think about until they are lying in a tent that is flapping so violently it sounds like a helicopter is landing. Even moderate wind — 15 to 20 mph — can make a tent noisy, drafty, and difficult to keep warm. Stronger gusts can bend poles, rip stakes from soft ground, and turn a pleasant evening into a stressful one. On the flip side, a complete lack of airflow is not ideal either, as it contributes to condensation buildup and can make summer camping uncomfortably stuffy. The goal is to find a site that offers natural shelter from the worst of the wind while still allowing some air circulation.
Use Terrain and Vegetation as Windbreaks
The most effective wind protection comes from natural features — dense stands of trees, rock formations, ridgelines, and even the lee side of a small hill. A tree line perpendicular to the prevailing wind acts as a windbreak, creating a “wind shadow” on the downwind side that extends roughly five to ten times the height of the trees. Placing your tent in this wind shadow dramatically reduces the wind chill effect and keeps your tent from flapping all night.
When scouting for wind protection, pay attention to the trees themselves. Conifer stands (pines, spruces, firs) are far more effective windbreaks than deciduous trees, especially in spring and fall when deciduous trees may have lost their leaves. A healthy stand of pines can cut wind speed by 50 percent or more at a distance of two tree-heights downwind.
Reading Wind Patterns Before You Commit
Wind is not constant — it shifts direction, intensifies at certain times of day, and behaves differently in valleys than on ridges. Before committing to a campsite, spend a few minutes observing:
- Watch the treetops. The canopy movement tells you the wind’s direction and intensity at the height that matters most for your tent.
- Check for wind-shaped features. Flag trees (trees with branches growing predominantly in one direction), wind-sculpted shrubs, and sand dunes all indicate the prevailing wind direction.
- Consider time of day. In many mountain areas, afternoon upslope winds give way to nighttime downslope (katabatic) winds. A site protected from afternoon wind may be exposed to nighttime wind from the opposite direction.
- Use weather forecasts. Check the predicted wind direction and speed for your camping nights. This helps you orient your tent and choose which side of a windbreak to camp on.
When Wind Is Actually Helpful
Not all wind is bad. A gentle breeze — 5 to 10 mph — provides two important benefits that make a completely windless site less than ideal:
- Condensation reduction: Air movement across the tent fabric helps evaporate moisture before it can condense on the inner walls. If you have struggled with tent condensation, a site with light airflow is one of the most effective natural solutions.
- Bug control: Mosquitoes and gnats are weak fliers. A consistent breeze of even 5 mph significantly reduces their ability to find and bother you. Open, breezy sites near water can actually be less buggy than still, sheltered spots in the trees.
The ideal, then, is a site sheltered from strong, sustained wind (especially cold wind) but with enough gentle airflow to keep the air moving across your tent. This is more achievable than it sounds — most natural landscapes offer variations in wind exposure, and the difference between a miserable, wind-battered night and a calm, comfortable one is often just a matter of walking fifty yards to the right spot.

Portable Folding Camping Chair
A comfortable campsite needs a place to sit. This lightweight, packable chair is perfect for relaxing at your chosen spot.
Check Price on AmazonStep 5 – Spot and Avoid Environmental Hazards
Every landscape has potential hazards. The key is learning to see them before they become problems — not after.
Environmental hazards are the factors in campsite selection that have the highest stakes. A bad night’s sleep from a sloped campsite is uncomfortable; a falling widow-maker branch is life-threatening. The good news is that most hazards are visible and avoidable if you know what to look for. This step covers the major categories of environmental risk and how to identify them in the field.
Dead Trees and Widow Makers
The term “widow maker” refers to dead branches, dead standing trees (snags), or partially fallen trees that could come down at any time. They are one of the most serious and most common hazards in forest camping, and they deserve your close attention. Look up at the canopy above any potential campsite. If you see dead branches hanging in the trees, peeling bark, or a dead trunk leaning nearby, move on. Wind, ice, or even a woodpecker can bring these down without warning.
As a general rule, you want to be at least one and a half times the height of the nearest tall tree away from any dead standing trees. If a dead pine is 60 feet tall, your tent should be at least 90 feet from its base. This is a conservative distance, but it accounts for the unpredictable angle at which a tree might fall.
Flash Flood Zones
Flash floods are among the most dangerous weather-related hazards for campers, and they are almost entirely avoidable through campsite selection. The key indicators to watch for are:
- Dry washes and creek beds: Any channel that shows signs of water flow — smooth stones, silt deposits, eroded banks — even if it is bone dry when you arrive.
- Alluvial fans: The wide, flat, fan-shaped deposits of sediment where a canyon opens onto a plain. These are formed by flood water and are prime flood territory.
- Canyon bottoms: Narrow canyons concentrate water flow and offer no escape route. Avoid camping in canyon bottoms unless you are absolutely certain of the weather upstream.
- Dark soil stains on rocks: These high-water marks show you the reach of previous floods. If a mark is anywhere near your potential tent site, you are too low.
Wildlife Corridors and Animal Signs
Animals follow predictable paths — game trails, water access routes, and feeding corridors. Camping directly on one of these paths invites a close encounter at best and a dangerous confrontation at worst. Look for worn paths through vegetation, scat (droppings), tracks, fur snagged on branches, and claw marks on trees. In bear country, also look for bear sign: overturned rocks, claw marks on trees at shoulder height, and torn-up logs.
In areas with large predators (bears, mountain lions, wolves), proper food storage is as important as site selection. Hang food in a bear bag from a tree branch at least 10 feet off the ground and 4 feet from the trunk, or use a bear canister. Do not store food in your tent — ever. If your chosen campsite has no suitable trees for hanging a bear bag and no bear box, you may need to find a different spot regardless of how good the terrain is.
Insect Breeding Grounds
Standing water — puddles, marshy areas, stagnant pond edges — is a breeding ground for mosquitoes and other biting insects. While you want to be within a reasonable distance of a water source for convenience, you do not want to be camped next to a stagnant pool. Moving water (streams, rivers with current) is much less problematic than still water for insect activity. A breezy site near a stream will generally be far less buggy than a sheltered site next to a swampy meadow.
Lightning-Risk Terrain
If there is any chance of thunderstorms, avoid camping on exposed ridges, hilltops, and open fields where you would be the tallest object. In mountainous terrain, the safest campsite is in a valley or depression (but not a flood-prone one) surrounded by trees of similar height. If caught in a lightning storm, a tent offers zero protection — it is the terrain around you that matters. For gear maintenance after exposure to severe weather, a good tent repair kit is worth having in your pack.

Gear Aid Tent Repair Kit
A compact repair kit with patches, seam sealer, and replacement parts — essential insurance for any camping trip.
Check Price on AmazonStep 6 – Factor in Sun Path and Shade
The sun is a powerful ally — or a relentless adversary — depending on where and how you orient your campsite relative to its path.
Sun orientation affects your camping experience in more ways than you might expect. Morning sun warms a cold tent and dries overnight condensation. Afternoon shade keeps the tent from becoming an oven. The angle of the sun changes with the seasons, so a site that was perfectly shaded in summer might be fully exposed in fall. Thinking about sun path before you pitch — rather than waking up to a sweltering tent at 6 a.m. — is one of those small planning steps that pays enormous dividends.
Morning Sun: Your Best Friend
Waking up to sunlight hitting your tent is one of the great pleasures of camping — and one of the most practical features you can engineer through site selection. Morning sun does three valuable things: it warms the tent interior after a cold night, it dries condensation that has accumulated on the inner walls, and it gives you natural light to pack up and start your day. If you have ever struggled with condensation in your tent, orienting for morning sun exposure is one of the most effective natural remedies.
To capture morning sun, position your tent with the door or the largest face of the tent oriented toward the east (or southeast in northern latitudes). This means the sun hits the tent directly as it rises, warming the fabric and the air inside. In cooler months, this can make the difference between a comfortable wake-up and a reluctant crawl out of a cold, damp cocoon.
Afternoon Shade: Essential in Warm Weather
The flip side of sun exposure is afternoon heat. In summer and in southern latitudes, the afternoon sun can turn a tent into a sauna in minutes, making it impossible to rest, nap, or even be inside the tent comfortably. Trees on the west and southwest side of your campsite provide critical afternoon shade that keeps the tent livable through the hottest hours of the day.
When scouting a site, consider where the sun will be at 2 p.m. and 5 p.m. — the hours of maximum heat. If you stand at the potential tent location and look toward the afternoon sun position, are there trees or terrain features blocking it? If yes, you have natural shade. If not, you may want to find a spot that does, or bring a tarp to create artificial shade.
Seasonal Adjustments
The sun’s path changes dramatically between summer and winter. In summer, the sun rises well north of due east and sets well north of due west, tracking high overhead. In winter, it rises south of east, tracks low across the southern sky, and sets south of west. This means:
- Summer camping: You need more afternoon shade. A site that is well-shaded in summer might be fully exposed to the low winter sun.
- Winter camping: You want maximum sun exposure to warm your tent. A site that was too exposed in summer may be ideal in winter. South-facing clearings capture the most sunlight. For more cold-weather advice, see our guide on how to keep a tent warm in winter.
- Shoulder seasons (spring/fall): The sun’s path is somewhere in between, and conditions can swing from hot to cold. Versatile shade — partial tree cover that provides some afternoon shade without blocking all morning sun — is the sweet spot.

Coleman Sundome Tent — 4 Person
With large windows and a ground vent, this tent handles ventilation and sun exposure well — a great match for a well-chosen campsite.
Check Price on AmazonStep 7 – Inspect Ground Surface for Comfort
You can have the safest, most scenic campsite in the world, but if the ground under your tent is lumpy, rocky, or soaking wet, you are in for a long night.
The ground surface is the last thing between you and the earth, and its quality directly determines how well you sleep. A smooth, slightly soft surface — forest duff, short grass, packed sand — is ideal. A surface littered with rocks, roots, pinecones, and sticks is not. Most of the discomfort people attribute to their sleeping pad or tent is actually a ground-surface problem that could have been avoided with a few minutes of inspection and preparation before pitching.
Do the “Kneel Test”
Before you commit to a spot, kneel down on the ground where your tent will go. Close your eyes and feel what is under your knees. Can you feel rocks poking through? Roots creating ridges? Sticks or pinecones that will press into you all night? This ten-second test tells you more about sleeping comfort than any amount of visual inspection, because many ground obstacles are hidden under grass or leaf litter and only become apparent through direct pressure.
If the ground fails the kneel test but the site is otherwise perfect (safe, well-drained, good wind and sun), you can often improve it. Clear away sticks, pinecones, and small rocks. For larger rocks that cannot be moved, choose a different alignment for your tent or position your sleeping pad to avoid them. A thick sleeping pad can absorb a surprising amount of minor unevenness — which is exactly why investing in a quality pad matters. Check out our recommendations for the best sleeping pad for winter camping if you need an upgrade, or browse options for the best camping cot for side sleepers if you prefer sleeping elevated off the ground entirely.
Understanding Ground Moisture
Ground moisture is a separate but related concern. Even on a clear night, the ground can release moisture that seeps into the underside of your tent floor. This is especially common in grassy meadows, near water, and in areas with high water tables. Signs of a moisture-prone site include:
- Spongy or squishy ground underfoot
- Dark, damp soil even during dry weather
- Lush, water-loving vegetation (ferns, mosses, rushes)
- Water pooling in footprints or tire tracks
A groundsheet or footprint under your tent provides a critical moisture barrier. If you consistently struggle with ground moisture, a camping cot that elevates you off the floor entirely is worth considering — it eliminates the problem altogether.
Surface Type Comparison
| Surface | Comfort | Drainage | Stake Hold | Notes |
|---|---|---|---|---|
| Forest Duff | Excellent | Good | Good | Soft, natural cushion; may be uneven |
| Short Grass | Very Good | Good | Good | Smooth and flat; popular sites may be worn |
| Sand | Good | Excellent | Poor | Needs sand-specific stakes; gets everywhere |
| Rock Slab | Fair | Excellent | Very Poor | Cannot stake; use guyline weights instead |
| Bare Soil/Clay | Good | Poor | Excellent | Muddy when wet; excellent stake hold |
| Gravel | Fair | Excellent | Poor | Hard on knees and tent floor |
| Pine Needle Bed | Excellent | Good | Fair | Natural cushion; aromatic; may be slippery |

Insulated Self-Inflating Sleeping Pad
A thick, insulated pad smooths out imperfect ground and keeps you warm from below. The best single upgrade for campsite comfort.
Check Price on AmazonStep 8 – Think About Privacy, Noise, and Distance
A campsite is not just a patch of ground — it is your outdoor living room for the next day or more. How it relates to its neighbors and surroundings matters.
Once you have checked the technical boxes — terrain, water, wind, hazards, sun, and ground surface — it is time to consider the human factors. How close are the neighboring campsites? Can you hear the highway from here? Is there a trail running right through your kitchen area? These factors do not affect your physical safety, but they profoundly affect your experience. A technically perfect campsite next to a screaming generator or a busy trail can feel worse than a mediocre site with peace and quiet.
Established Campground Strategy
At a first-come, first-served campground, you have the freedom to choose among available sites. This is where walking the loop before committing pays off. Look for sites that are set back from the road, have natural screening (trees, bushes, terrain) between them and their neighbors, and are not directly adjacent to the campground bathroom, trailhead, or amphitheater. These high-traffic areas generate noise, foot traffic, and car headlights at all hours.
Campground maps (available online for most public campgrounds) often show site layouts, and some even include photos of individual sites. Reviewing these before your trip lets you identify the best candidates and head straight for them when you arrive. Sites at the end of a loop, on the outer edge, or at higher elevation within the campground tend to be quieter and more private.
Group Camping Considerations
If you are camping with a group, site selection becomes a spatial planning exercise. You need enough room for multiple tents, a communal cooking and gathering area, and ideally some separation from single-party neighbors who may not want to share your late-night campfire conversations. Group sites (available at many campgrounds) are designed for this, but if you are cobbling together individual sites, look for clusters of adjacent sites that can function as a private compound.
When placing multiple tents within a group site, leave at least 10 feet between tents for walkways, gear storage, and noise buffering. Position the cooking and fire area downwind from the sleeping tents — this keeps smoke, food smells, and firelight out of the sleeping area and reduces the chance of attracting curious wildlife to the tents.
Noise Considerations
Noise at a campsite comes from both human and natural sources. Human sources — neighboring campers, roads, generators, boat launches, train tracks — tend to be the most disruptive because they are unpredictable and often louder than expected. Natural noise — wind, streams, waterfalls, frogs, birds — is usually much more tolerable and can even be beneficial, masking other sounds and creating a soothing background.
- Roads: Sound carries farther than you think, especially at night when ambient noise drops. A campsite half a mile from a highway may still hear traffic. Topography helps — a ridge between you and the road blocks sound effectively.
- Streams: A moderate-size stream provides pleasant white noise. A large, loud river can make conversation difficult and may mask other important sounds (approaching wildlife, weather changes).
- Other campers: Weekend campgrounds are noisier than weekday ones. If you value quiet, plan to camp Sunday through Thursday nights when possible.

Lightweight Folding Camping Chair
Set up a comfortable seating area at your campsite. This chair packs small and sets up in seconds.
Check Price on AmazonStep 9 – Practice Leave No Trace Campsite Selection
The best campsite selection is not just about finding the perfect spot for yourself — it is about leaving that spot as good or better than you found it for everyone who comes after.
Leave No Trace (LNT) is a set of seven principles designed to minimize the impact of outdoor recreation on natural environments. Two of these principles are directly and primarily about campsite selection, and the others are heavily influenced by where you choose to set up. As camping continues to grow in popularity, the cumulative impact of thousands of campers choosing sites poorly is becoming increasingly visible — trampled vegetation, scarred tree bark, proliferating fire rings, and degraded water quality. Learning to select campsites responsibly is not optional; it is a core part of being a competent, respectful camper.
Use Existing Sites Whenever Possible
In dispersed and backcountry areas, the single most impactful thing you can do is camp on an existing, already-impacted site rather than creating a new one. Look for clearings that show signs of previous use — a flattened tent area, an established fire ring, a worn path from the trail. By reusing these sites, you concentrate impact on an already-disturbed area rather than extending the footprint of human presence into pristine ground.
In heavily used areas, this is especially critical. Popular backcountry camping zones can develop dozens of “social” (unofficial) campsites over time. The best practice is to use one of these existing sites rather than creating a new one, even if the available sites are not perfect. A slightly less comfortable spot on an existing site has far less environmental impact than a perfect new spot on virgin ground.
Camp on Durable Surfaces
Durable surfaces — rock, gravel, dry grass, snow, sand — can withstand the pressure of camping without lasting damage. Fragile surfaces — living vegetation, cryptobiotic soil (the dark, crusty soil found in desert environments), wet meadows, and alpine tundra — are damaged by foot traffic and tent placement and can take years or decades to recover. When choosing a campsite, prioritize locations on durable surfaces even if it means a slightly less scenic or comfortable spot.
Minimize Campsite Alteration
Resist the urge to “improve” your campsite by cutting branches, digging trenches, building structures, or moving rocks. These actions leave lasting scars on the landscape. If a site requires significant alteration to be usable, it is the wrong site — find one that works naturally. The exception is clearing small, loose debris (sticks, pinecones, small rocks) from the tent footprint, which is standard practice and causes no lasting impact if you scatter the debris when you leave.
The 200-Foot Water Buffer (Revisited)
The 200-foot buffer from water sources serves an ecological purpose as well as a personal-safety one. Riparian zones — the vegetation along the edges of streams, lakes, and wetlands — are among the most productive and fragile ecosystems in any landscape. Trampling this vegetation, depositing soap or food waste, and establishing campsites in riparian areas causes outsized damage. Stay back, and you protect both the ecosystem and your own comfort (less condensation, fewer bugs, less flooding risk).
Dispersing Impact in Pristine Areas
In areas that show no signs of previous camping, the LNT guidance flips: instead of concentrating impact, you should disperse it. Spread out, avoid creating visible paths, and do not establish a fire ring. The goal is to prevent any single spot from becoming a “destination” campsite that attracts more and more use over time. If you are the first person to camp in an area, make sure no one can tell you were there when you leave.
For a comprehensive overview of responsible camping practices, including a beginner camping checklist that covers LNT essentials, explore our full collection of camping guides and resources.

Multi-Purpose Camping Tarp Shelter
A tarp lets you create a living area without expanding your tent’s footprint — perfect for practicing LNT campsite management.
Check Price on AmazonStep 10 – Adapt Your Approach for Specific Conditions
The principles above apply everywhere, but how you weight each factor changes dramatically depending on whether you are camping in rain, snow, desert heat, or on a coast.
A campsite that is perfect for a clear summer evening may be a disaster in a rainstorm. A cozy forest clearing that works beautifully in mild weather becomes a death trap in a lightning storm. Campsite selection is not a one-size-fits-all exercise — it is a dynamic process that adapts to the specific conditions you expect to face. This section covers the four most common challenging conditions and how to adjust your site-selection priorities for each one.
Rainy Conditions
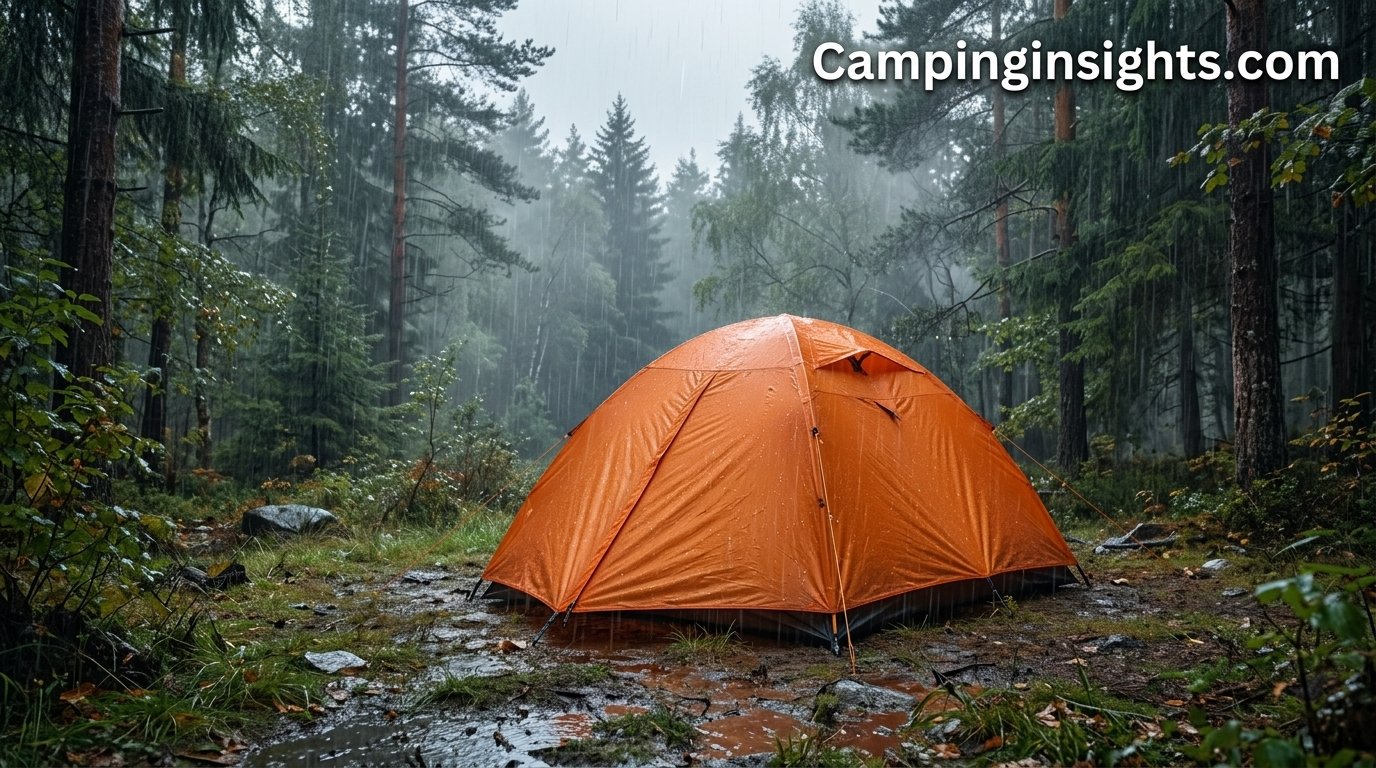
When rain is in the forecast, drainage becomes your top priority. Everything else — privacy, scenery, proximity to trails — takes a back seat to staying dry. Here is what to prioritize:
- Elevated, well-drained ground: Even more critical than usual. A few inches of elevation difference between your tent and the surrounding terrain can be the difference between a dry night and a flooded one.
- Tree cover: A healthy forest canopy intercepts a significant amount of rainfall before it reaches the ground. Under a dense canopy, you may experience only 60-70 percent of the rainfall that falls on open ground. However, avoid camping directly under dead or diseased trees, as wet conditions increase the risk of falling branches.
- Ground saturation: If it has already been raining for hours, the ground may be saturated and unable to absorb more water. In this case, even elevated sites can have pooling issues. Look for sites on gravel, rock, or sand that drain faster than clay or compacted soil.
- Avoid natural channels: Every subtle depression, erosion channel, and low spot becomes an active water route during sustained rain. What looked like dry, flat ground in sunshine becomes a creek in a storm.
For comprehensive rain-camping strategies that cover everything from campsite selection to gear management, see our detailed guide on camping in the rain.
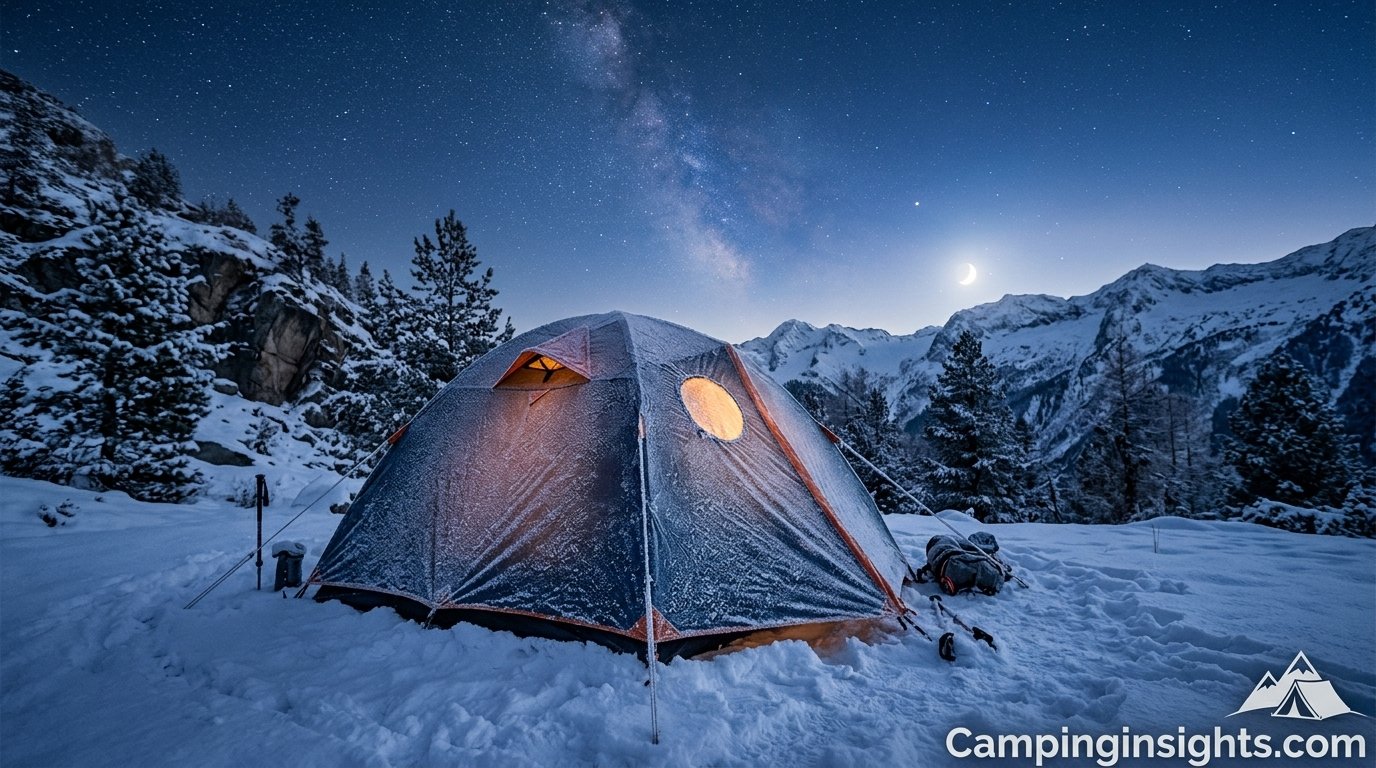
Winter and Snow Conditions
Winter campsite selection inverts several priorities. Shade, which is desirable in summer, becomes undesirable in winter because you want every ray of sunlight to warm your tent. Wind protection becomes paramount because wind chill in cold temperatures can be dangerous. And the ground itself changes — snow cover requires different preparation than bare earth.
- Wind protection above all: Cold wind is the primary enemy in winter camping. A site sheltered from prevailing winds — behind a dense conifer stand, in the lee of a rock formation, or in a shallow depression (but not a valley where cold air pools) — can be 15-20°F warmer than an exposed site just a few hundred feet away.
- Avoid cold air sinks: Cold air is denser than warm air and flows downhill at night, pooling in valleys and depressions. The bottom of a valley can be 10-15°F colder than the slopes above it. Camp on a mid-slope bench or a gently elevated area rather than the valley floor.
- South-facing exposure: In winter, a south-facing site catches the most sun throughout the day, warming your tent and melting snow. This makes a huge difference in comfort and morale.
- Avalanche awareness: In mountainous terrain, avoid camping below steep, snow-loaded slopes. Even small slopes can produce avalanches under the right conditions.
- Snow platform: If camping on snow, stomp out a flat platform with your snowshoes or boots and let it set (freeze solid, ideally for an hour) before pitching your tent. This prevents post-holing under your tent floor later.
Winter camping demands warmer gear to match your campsite selection. Our guide on keeping a tent warm in winter covers insulation techniques, and our article on keeping a tent warm at night applies to any cold-weather camping situation.
Desert Conditions
Desert camping flips the script on many standard campsite-selection rules. Shade becomes the overriding priority. Water scarcity changes the calculus on proximity to water sources. And flash floods — even in bone-dry washes — become one of the most serious hazards.
- Shade is survival: In desert heat, shade is not a luxury; it is a necessity. A campsite under a rock overhang, a large boulder’s shadow, or a tree canopy is dramatically cooler than open desert. If natural shade is unavailable, bring a tarp and create your own.
- Flash flood vigilance: Desert flash floods are sudden, violent, and can occur from storms that are 20 or more miles away and completely invisible to you. The same dry washes that look like perfect flat campsites become raging torrents in minutes. This is the single most dangerous desert camping hazard.
- Ground temperature: Desert ground absorbs enormous heat during the day and radiates it back at night. A tent on bare rock or dark sand will be hotter than one on light-colored sand or a raised platform. Consider elevating your sleeping surface on a cot to escape ground-level heat.
- Critter awareness: Desert wildlife — scorpions, rattlesnakes, spiders — seeks shelter under rocks, in crevices, and under anything left on the ground. Shake out your boots, check under your tent before packing, and avoid placing your tent next to rock piles or dense brush.
Coastal Conditions
Coastal camping offers stunning scenery but brings unique challenges: powerful onshore winds, salt spray, tidal changes, and fog.
- Tide awareness: Know the tide schedule and camp well above the high-water mark. Tides can rise surprisingly fast, and a beach campsite at low tide can be underwater by midnight. Look for the line of seaweed and debris — that is the approximate high-tide mark.
- Wind management: Coastal winds are often strong and sustained. Sand dunes, bluffs, and dense vegetation provide the best wind protection. Pitch your tent with the lowest, most aerodynamic profile facing the wind.
- Salt spray: Salt corrodes zippers, degrades waterproof coatings, and stiffens fabric. Rinse your tent with fresh water after coastal trips and consider a tent you do not mind subjecting to salt exposure.
- Sand: Sand gets into everything. A groundsheet under your tent and a small brush for sweeping out the interior make a big difference. Stake your tent with sand-specific anchors (buried bags, sand stakes) since standard stakes have poor hold in sand.
| Condition | Top Priority | Key Hazard | Best Surface |
|---|---|---|---|
| Rain | Drainage | Flash flooding | Elevated gravel or grass |
| Winter/Snow | Wind protection | Wind chill, hypothermia | Packed snow platform |
| Desert | Shade | Flash floods, heat | Light sand, rock slab |
| Coastal | Tide + wind | Rising tides, storm surge | Compacted sand above tide line |

Heavy Duty Tent Stakes (10-Pack)
Different conditions demand different stakes. This set includes both Y-beam stakes for hard ground and V-stakes for sand and snow.
Check Price on AmazonThe Ultimate Campsite Selection Checklist
Use this checklist as a field reference every time you arrive at a new campsite. It covers every factor discussed in this guide in a quick, scannable format.
You have read through all ten steps, and now it is time to put them into practice. The checklist below distills every major factor into a simple, actionable set of questions you can walk through in five minutes when you arrive at a potential campsite. Print it out, save it on your phone, or tape it to the inside of your car’s sun visor — whatever gets you to actually use it when the moment comes.
Before You Arrive
- Check weather forecast for your camping dates (temperature, rain, wind direction, thunderstorms)
- Research campsite options (campground maps, reviews, dispersed camping areas)
- Know the regulations for the area (permits, fire restrictions, camping zones)
- Pack gear appropriate for expected conditions (see our camping checklist for beginners)
- Plan to arrive early for best site selection
Safety Assessment
- Look up: No dead branches, dead trees, or unstable rock above?
- Not in a dry wash, creek bed, or drainage channel?
- Not on an exposed ridge or hilltop (if thunderstorms possible)?
- No wildlife trails, scat, or signs of large animal activity?
- Not near standing water (insect breeding ground)?
Terrain and Drainage
- Site is on elevated or gently sloping ground?
- No depression, hollow, or low spot that could collect water?
- Ground shows no signs of recent water flow (erosion channels, dark soil)?
- At least 200 feet from any water source?
- Run the “look up, look down, look around” check
Wind and Sun
- Some natural wind protection (trees, terrain, rocks) from prevailing wind?
- Not a complete wind trap (valley bottom with no airflow)?
- Morning sun exposure (east-facing) for warmth and drying?
- Afternoon shade (if summer) for heat relief?
- Maximum sun exposure (if winter) for warmth?
Ground Surface
- Kneel test: no rocks, roots, or sticks poking through?
- Ground is not spongy, squishy, or waterlogged?
- Suitable for staking (or have alternative anchoring plan)?
- Cleared small debris from tent footprint area?
- Tent footprint or groundsheet in place?
Comfort and Experience
- Reasonable distance from neighbors and noise sources?
- Room for tent, cooking area, and gathering space?
- Pleasant scenery, views, or ambiance?
- Access to trails, water activities, or other recreation?
- Leave No Trace: on durable surface, reusing existing site if available?

Comprehensive Tent Repair Kit
Keep your shelter in peak condition. Includes seam sealer, fabric patches, pole splints, and zipper repair tools.
Check Price on AmazonFrequently Asked Questions About Choosing a Campsite
How far should I camp from a water source?
The standard recommendation — and the Leave No Trace guideline — is at least 200 feet, or roughly 70 adult paces, from any lake, stream, river, or spring. This distance protects riparian ecosystems, reduces your exposure to flooding and moisture, and keeps biting insects (which breed near standing water) at a manageable distance. In some national parks and wilderness areas, this is a legal requirement, not just a suggestion.
What is the best ground surface for pitching a tent?
Forest duff (the soft layer of decomposed leaves and pine needles on a forest floor), short grass, and packed sand are generally the best surfaces. They are soft enough for comfort, firm enough for good stake hold, and drain reasonably well. Avoid bare clay (becomes mud), gravel (uncomfortable and poor stake hold), and rock slab (impossible to stake). Always do the “kneel test” to check for hidden rocks and roots before committing.
Is it safe to camp under large trees?
It depends on the trees. Healthy, living trees with full canopies are generally safe and provide valuable shade and wind protection. Dead trees (snags), trees with dead branches (widow makers), and trees with visible disease or damage should be avoided. The risk of falling branches increases during storms, high wind, and when branches are loaded with snow or ice. As a rule of thumb, keep your tent at least one and a half times the height of any dead standing tree away from its base.
How do I know if a campsite is in a flood zone?
Look for these indicators: the site is in a dry wash, creek bed, or drainage channel; there are smooth stones and silt deposits that indicate past water flow; there are dark, stained lines on rocks showing previous high-water marks; the site is at the base of a canyon or on an alluvial fan; or the site is in a low-lying area surrounded by higher ground. If any of these apply, choose a different spot — even if the sky is perfectly clear.
What direction should my tent face?
In most situations, orienting your tent with the door facing east is ideal. This catches the warming morning sun, which dries condensation and makes waking up more pleasant. If wind is a factor, orient the lowest, most aerodynamic end of the tent into the wind. In winter, you may want to face the door south to capture maximum sunlight. Avoid facing the door toward a road, trail, or neighboring campsite for privacy reasons.
How much space should I leave between tents?
In a campground setting, use all the space your designated site provides. If you are placing multiple tents within a group, leave at least 10 feet between them for walkways, gear storage, and a small buffer of privacy and noise. In dispersed camping, there are no rules, but spacing tents 20 to 30 feet apart gives everyone room to breathe and reduces the chance that one person’s tossing and turning keeps their neighbor awake.
Can I camp anywhere in a national forest?
In most National Forest lands in the United States, dispersed camping is allowed with some restrictions. You generally cannot camp within a certain distance of developed recreation areas, trails, or water bodies (the specific distance varies by forest district). Some areas are closed to camping to protect sensitive resources. Always check with the local ranger district for current regulations before your trip. Camping is typically limited to 14 days in a 30-day period in one location.
How do I choose a campsite in the rain?
Prioritize drainage above all else. Look for elevated, well-drained ground (gravel, grass on a slight slope) and avoid any low-lying area or natural drainage channel. Seek tree cover to reduce the amount of rain reaching your tent, but avoid standing under dead or damaged trees where wet conditions increase the risk of falling branches. Set up your rainfly first if possible, and bring a tarp to create a dry area outside the tent for cooking and gear management. For more detailed strategies, see our guide to camping in the rain.
What should I look for in a winter campsite?
Wind protection is the top priority in winter. Look for sites sheltered by dense conifer stands, rock formations, or terrain features that block the prevailing wind. Avoid valley bottoms where cold air pools overnight. Choose south-facing slopes for maximum sun exposure. If camping on snow, stomp out a flat platform and let it freeze before pitching. And make sure your gear is rated for the temperatures you will face — our winter tent warming guide has comprehensive advice.
How do I avoid condensation when choosing a campsite?
Condensation is worst in sites with high humidity and no air movement. Avoid camping directly next to water, in dense fog-prone lowlands, or in completely windless pockets. A site with gentle airflow — a light breeze through the trees — dramatically reduces condensation by evaporating moisture from the tent walls before it can accumulate. Morning sun exposure also helps dry condensation quickly after it forms. For a full breakdown, see our article on how to stop condensation in your tent.
What is the difference between established and dispersed camping?
Established camping takes place in designated campgrounds with numbered sites, defined boundaries, and amenities (restrooms, water, fire rings, picnic tables). Dispersed camping takes place on public lands outside of designated campgrounds, with no facilities, no marked sites, and typically no fees. Established camping requires you to choose among available sites; dispersed camping requires you to find and evaluate your own site from scratch, which demands the full range of site-selection skills covered in this guide.
How do I minimize my impact when choosing a backcountry campsite?
Camp on durable surfaces (rock, gravel, dry grass, snow) rather than fragile vegetation. Use existing campsites when available to concentrate impact rather than spreading it. Stay at least 200 feet from water sources. Do not cut branches, dig trenches, or build structures. Pack out all trash and food waste. If no existing site is available and you are in pristine terrain, choose a spot on durable ground and leave no visible trace when you depart.
Start Choosing Better Campsites Today
Campsite selection is one of those rare camping skills that costs nothing to develop, requires no special gear, and immediately improves every trip you take. It is the camping equivalent of learning to cook — once you understand the principles, every meal gets better, and you wonder how you ever managed without them.
The ten steps in this guide are not a rigid formula. They are a framework — a set of priorities to evaluate in the field, weighted by your specific situation, the weather, the terrain, and the type of camping you are doing. With practice, you will walk into a potential campsite and run through these checks in under a minute, instinctively reading the terrain, the water, the wind, and the hazards the way an experienced driver reads the road. You will start noticing details that invisible to you before — the subtle drainage channel, the dead branch overhead, the way the wind curls around a ridge — and making better decisions because of it.
The best way to build this skill is simply to practice it. On your next trip, take an extra five minutes before you pitch your tent. Walk the area. Kneel on the ground. Look up, look down, look around. Run through the checklist. And then notice — really notice — how much difference it makes when you wake up dry, warm, comfortable, and safe. That is the payoff, and it compounds with every trip.
Ready to put your new campsite selection skills to the test? Start with our beginner camping checklist to make sure you have everything else covered, browse the best camping tents for the right shelter, and check out our full collection of camping guides for everything from waterproofing to winter warmth.
You May Also Like
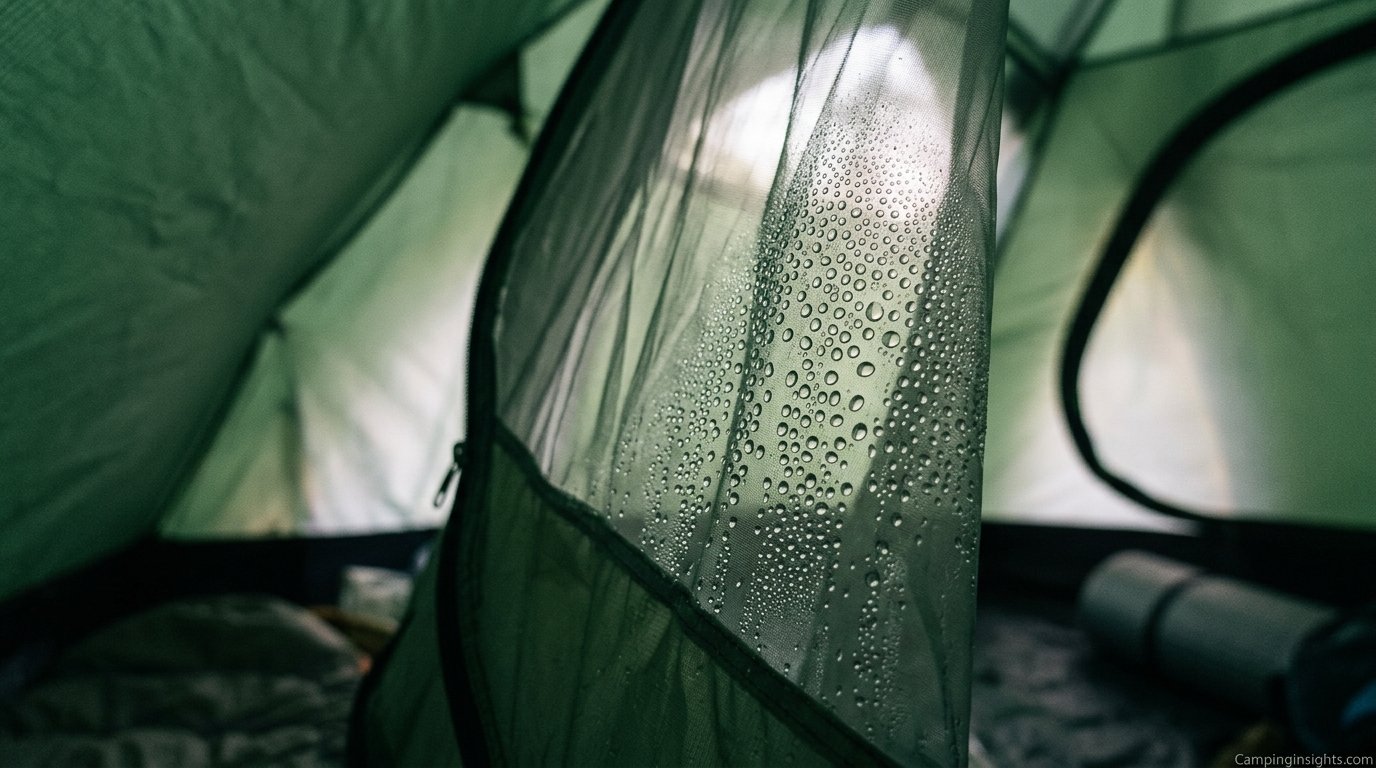
Why Is My Tent Wet Inside?
The real causes of interior tent moisture — and how to actually fix them. Not what most people think.
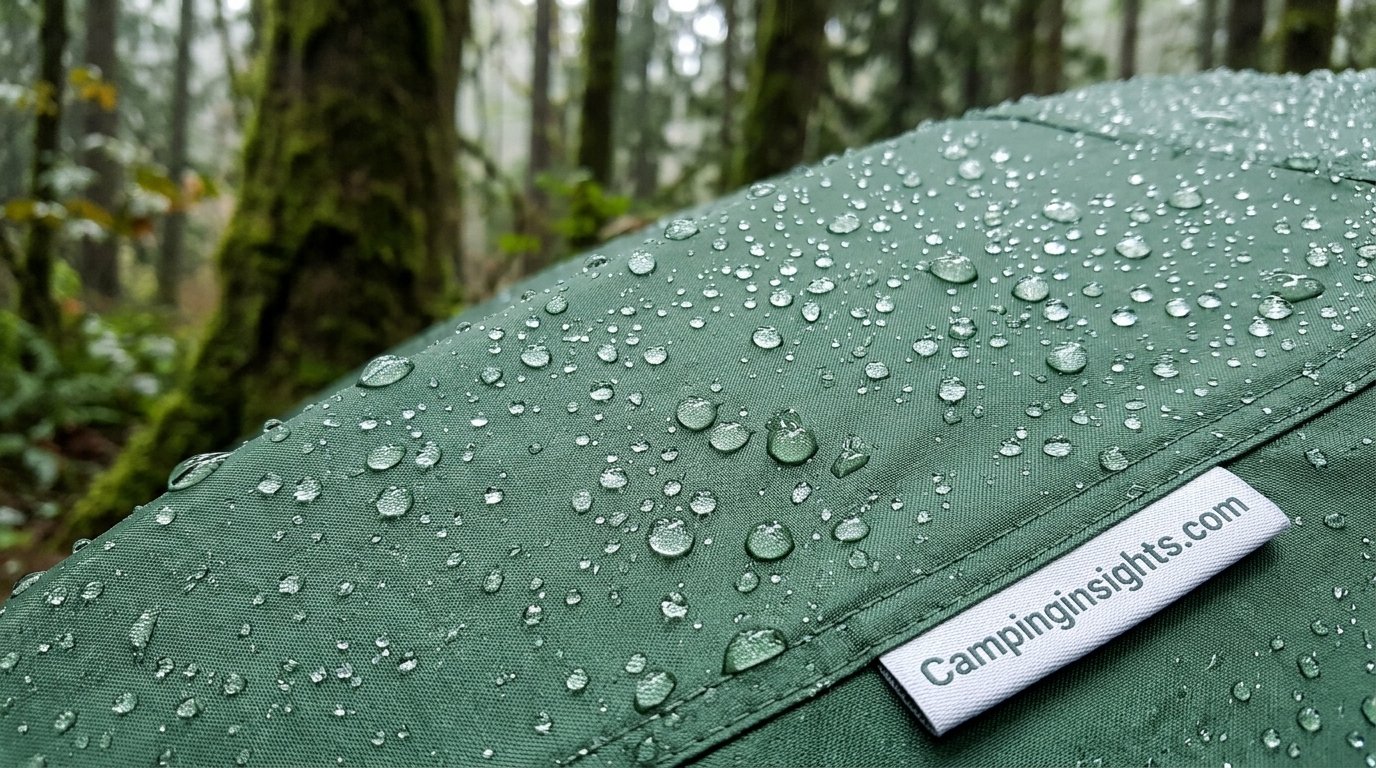
How to Make a Tent Waterproof
A weekend project that costs less than a new tent. Restore factory-level waterproofing with basic tools.
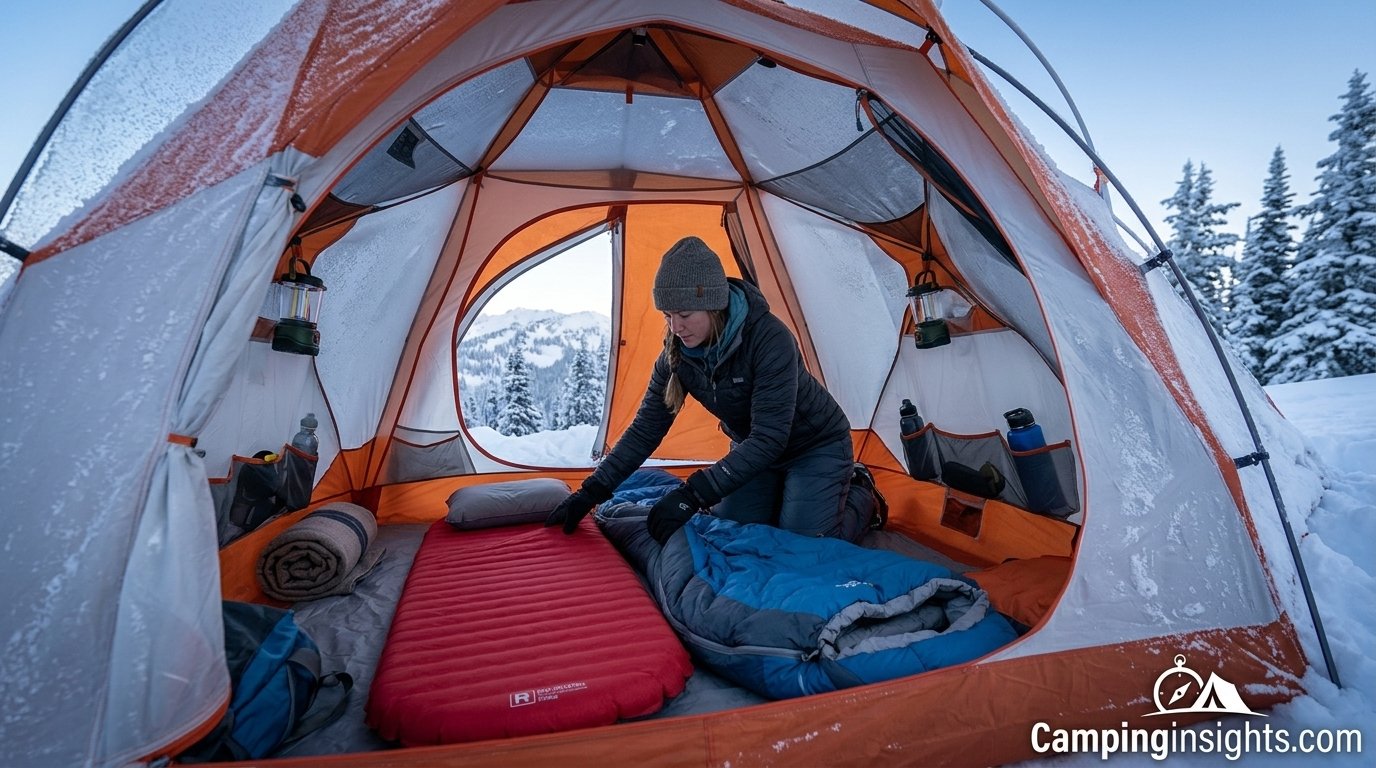
How to Keep a Tent Warm in Winter
Insulated floors, vapor barriers, heater safety, and layering systems for genuinely warm cold-weather camping.
How to Stop Condensation in Your Tent
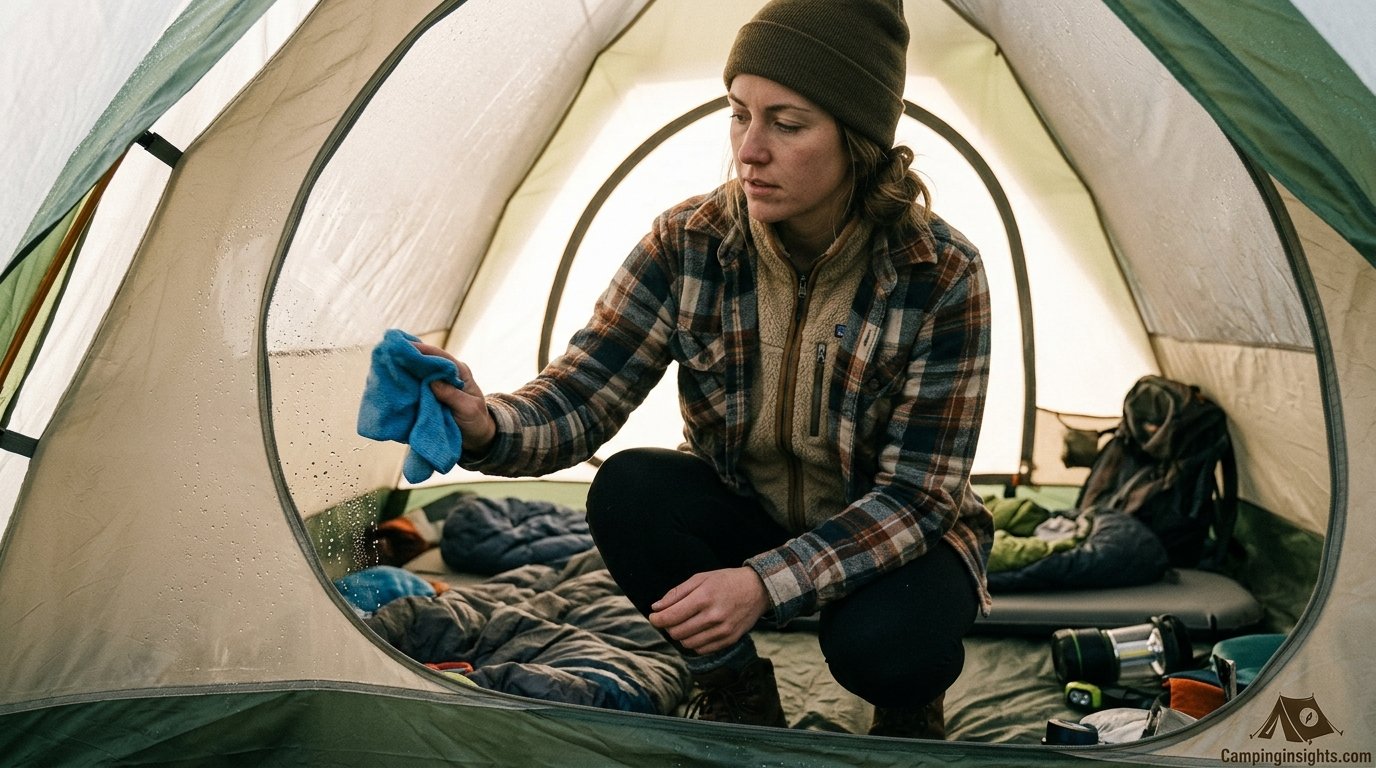
Practical, proven methods to reduce and eliminate the moisture buildup that plagues so many campers.
Camping in the Rain: Tips That Keep You Dry
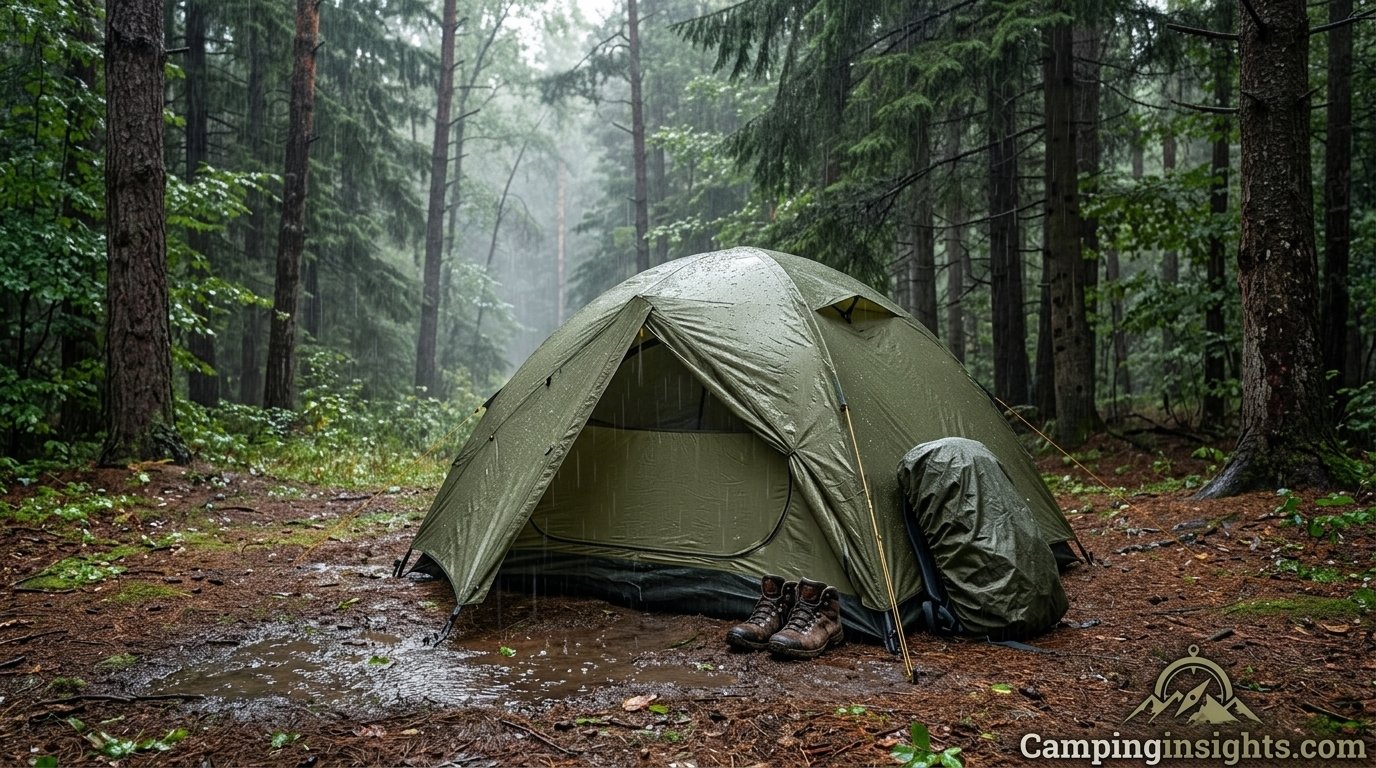
A practical guide to surviving and enjoying wet-weather camping, from setup to soggy-boot recovery.
Best Tent Stakes for Rocky Ground
The right stakes can mean the difference between a secure tent and a midnight chase across the campsite.