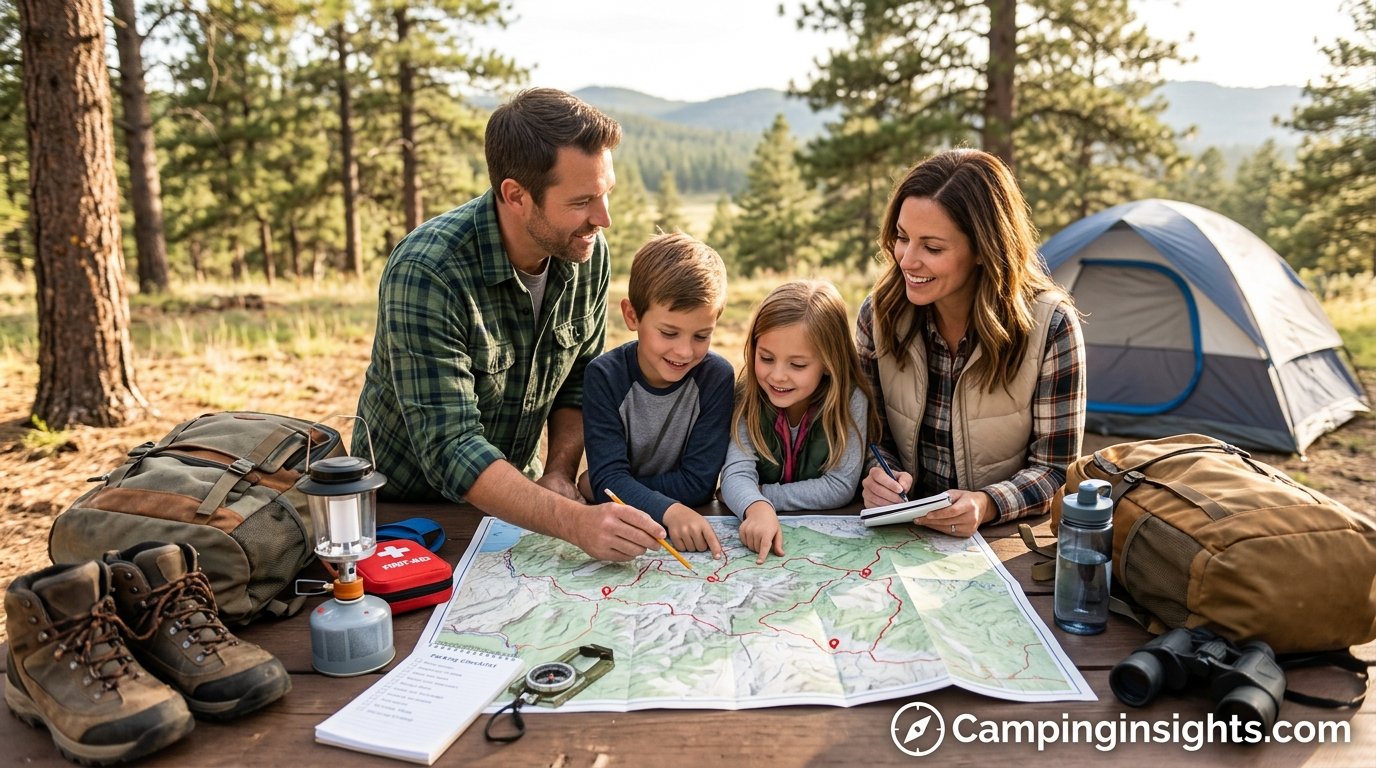
How to Plan a Camping Trip: The Complete Step-by-Step Guide
From choosing a campsite to packing the car and cooking your first meal under the stars — everything you need to plan a camping trip that actually goes smoothly.
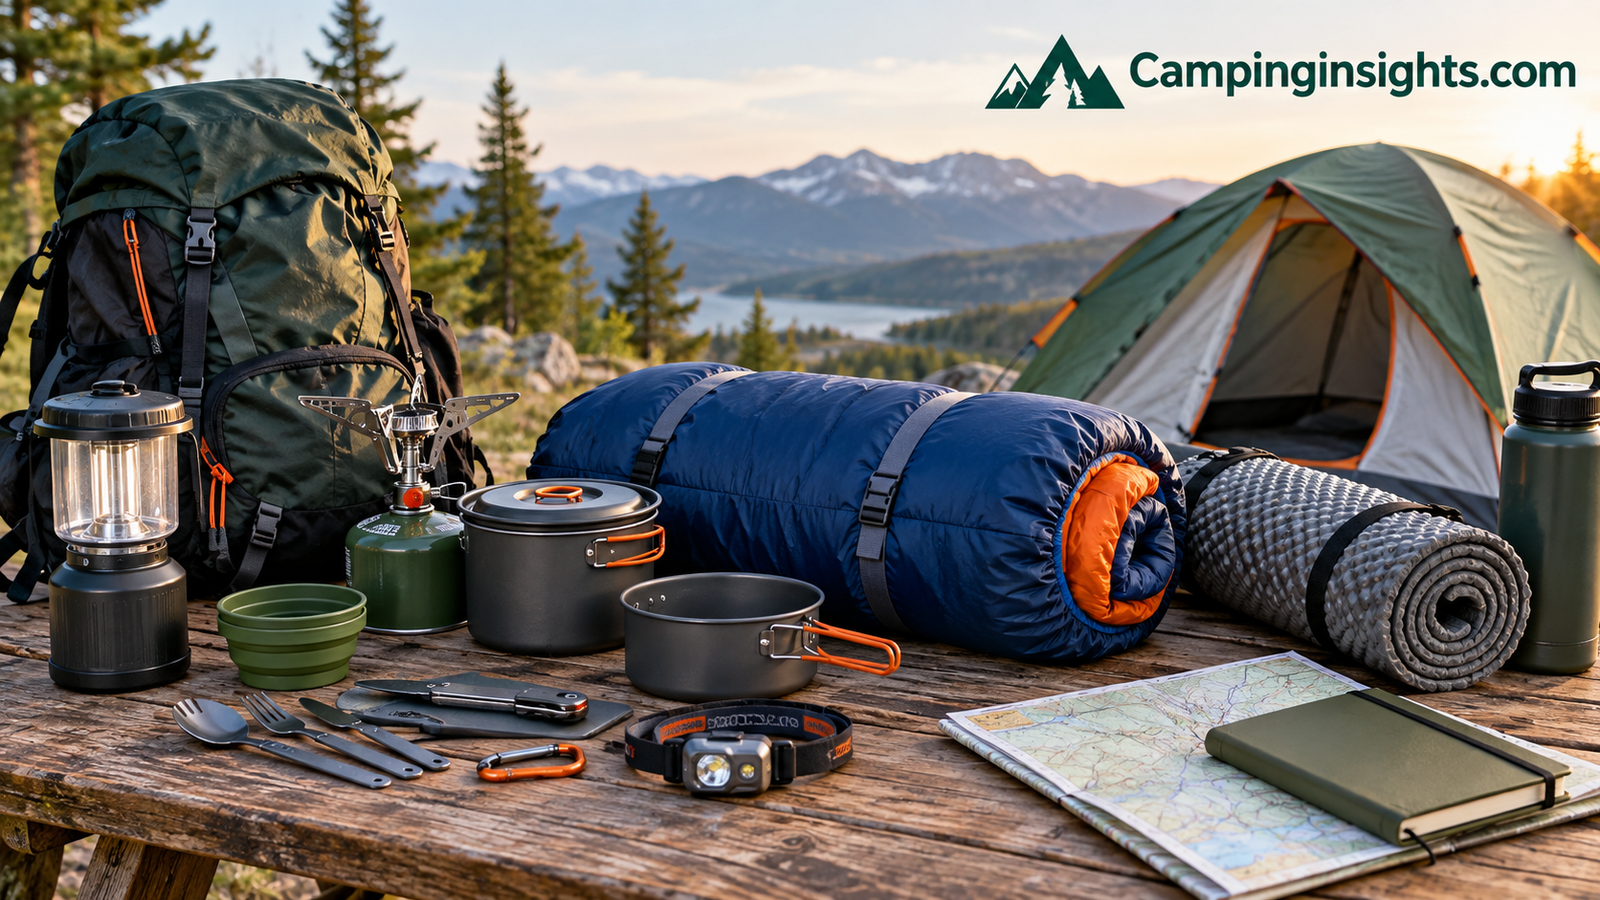
There’s a specific kind of anticipation that comes with a camping trip — the mental image of a quiet lake at sunrise, a fire crackling after dark, and a tent that somehow feels more like home than home does. Getting to that feeling, though, depends less on luck and more on preparation. Most camping trips that go wrong don’t go wrong because of bad luck; they go wrong because something wasn’t planned: the campsite didn’t have water access, the tent wasn’t rated for the temperature, or nobody packed a way to start a fire in the rain.
This guide walks through the entire planning process for a camping trip, from the first decision (where to go) to the last (how to leave the site better than you found it). Whether you’re planning a single overnight at a state park or a multi-night backcountry trip, the same core planning steps apply — they just scale with the length and remoteness of the trip. If you’re brand new to the hobby, keep this open alongside our camping checklist for beginners, which pairs well with the packing section below.
One thing worth setting straight before you start: there’s no single “correct” way to plan a camping trip. A weekend at a drive-up state park campground with a bathhouse and a paved parking spur requires a fraction of the planning that a five-day backcountry trip demands. What matters is matching the depth of your planning to the actual demands of the trip — overplanning a simple overnight wastes time you could spend enjoying the outdoors, while underplanning a remote, multi-night trip is how people end up cold, hungry, or genuinely at risk. Use the sections below as a menu rather than a strict checklist: read the ones that apply to your specific trip, and skim the rest for anything you might be missing.
The 7-Step Camping Trip Planning Process
Before diving into the details, here’s the planning process at a glance. Each step below builds on the one before it, and each has its own visual breakdown so you can see exactly what’s involved before you commit time to it.
1Define the Trip Type and Group
Start by deciding who’s coming and what kind of trip this is — a relaxed car-camping weekend, a backpacking trip, or a family trip with young kids. This decision shapes every choice that follows, from campsite type to gear list.
2Pick the Location and Reserve Early
Once you know the trip type, narrow down a region, then a specific site. Popular sites at national and state parks often book out weeks or months ahead, so reservations should happen as soon as dates are set.
3Build the Gear List by Category
Split gear into shelter, sleep, kitchen, clothing, and safety categories rather than one long list — it’s easier to check for gaps and easier to divide among a group.
4Plan Meals Around Cook Method
Decide whether you’re cooking over a stove, a fire, or both, then plan meals backward from that method so you’re not carrying ingredients that need equipment you didn’t bring.
5Check Weather and Pack Contingencies
A few days before departure, check the forecast for the site’s specific elevation and region, then adjust layers, tarps, and footwear accordingly.
6Load the Vehicle in the Right Order
Pack heaviest and least-needed items first, along the base, with frequently used items (rain gear, snacks, tent) loaded last so they come out first.
7Set Up Camp and Do a Final Safety Check
On arrival, walk the site before pitching anything, then set up shelter, kitchen, and fire ring in zones that keep sleeping and cooking areas separated.
1. Choosing the Right Campsite
Every camping trip starts with the same decision: where. It sounds simple, but the site you choose determines almost everything else about the trip, including how much gear you need, how far you’ll drive on the last stretch of road, and whether you’ll have any cell signal if something goes wrong. Start by deciding between a developed campground with assigned sites, water access, and possibly showers, or a more remote, dispersed site with no facilities at all. If you’re unfamiliar with the term, our guide on what dispersed camping actually is breaks down the difference and what to expect from public land camping.
For a first trip, or any trip with kids, a developed site is usually the better call. Look for sites with a level tent pad, nearby water access, and a fire ring, and check reviews for details that don’t show up on the booking page — things like road noise, sun exposure, or ground that turns to mud after rain. If quiet matters to you, look specifically for sites away from bathrooms and main roads, which tend to see the most foot traffic after dark.
Once you’ve narrowed down a general area, our detailed guide on how to choose a campsite covers the finer details: slope, drainage, distance from water sources, and how to read a site map before you book. Booking early matters more than most first-time campers expect — popular sites at national and state parks can fill up months in advance during peak season, so treat the reservation itself as one of the first tasks on your planning timeline, not an afterthought.
If you’re set on a specific park or region, it also helps to have a backup site in mind. Weather, trail closures, and last-minute cancellations happen, and having a second option already researched saves you from scrambling the week of the trip.
| Site Type | Best For | Trade-Off |
|---|---|---|
| Developed campground | Families, first trips, RVs | Less privacy, may be crowded |
| Backcountry / hike-in | Solitude, experienced campers | Requires carrying all gear in |
| Dispersed / public land | Free camping, flexibility | No facilities, self-reliant setup |
2. Deciding on Dates and Trip Length
Trip length shapes the entire packing list, so it’s worth locking in dates before diving into gear decisions. A single overnight requires far less planning than a five-night trip — food quantities, fuel needs, and clothing layers all scale with how many days and nights you’ll actually be outside. As a general rule, plan for one extra day’s worth of food and one extra layer of clothing beyond what you think you’ll need; delays and weather changes are common enough that the buffer is worth the extra weight.
Season matters just as much as length. A weekend in early fall might only require a light rain layer, while the same trip in winter demands an entirely different sleep system and shelter setup. If you’re planning a colder-weather trip, read through our guide on how to keep a tent warm in winter before finalizing your gear list, since winter camping changes almost every other decision on this list, from tent choice to meal planning.
Weekday versus weekend timing also affects the experience more than people expect. Popular campgrounds are noticeably quieter Sunday through Thursday, with better site availability and lower rates in most regions. If your schedule allows any flexibility, a midweek trip is often the easiest way to get a better site without paying more or planning further in advance.
It also helps to build in a bit of slack between booking and departure rather than planning down to the exact number of days off. A single buffer day before or after the trip absorbs travel delays, last-minute packing, and the general fatigue of driving home after several nights outdoors, and it keeps a great trip from ending on a rushed, stressful note.
3. Building a Complete Camping Checklist
A written checklist is the single most effective tool for avoiding the classic camping mistake: arriving at the site and discovering something essential got left on the kitchen counter. Rather than one long list, organize gear into categories — shelter, sleep system, kitchen, clothing, and safety/first aid — and check each category independently. This catches gaps far more reliably than scanning one giant list, and it makes it easy to divide packing responsibilities across a group.
Our full camping checklist for beginners covers every category in detail, including easy-to-forget items like extra tent stakes, a repair kit, and a way to purify water if the site doesn’t have a treated source. It’s worth printing a copy or saving it offline, since cell service at most campgrounds is unreliable at best.
A few checklist items deserve special attention because they’re the ones most commonly forgotten: a headlamp with spare batteries, a portable phone charger or power bank, duct tape, and a basic tool for repairs. None of these are exciting to pack, but each one has saved a trip when something inevitably breaks, tears, or runs out of battery on night two.
Digital checklists work fine for planning at home, but it’s worth having a paper or offline copy for the actual trip. Cell coverage disappears quickly outside towns, and a checklist trapped behind a dead phone screen doesn’t help much when you’re double-checking gear at the trailhead. A simple printed copy, checked off with a pen as items go into the car, is still one of the most reliable systems for a group trip where several people are packing different categories at once.
| Category | Core Items | Easy to Forget |
|---|---|---|
| Shelter | Tent, footprint, stakes, guy lines | Repair kit, extra stakes |
| Sleep | Sleeping bag, pad, pillow | Liner for extra warmth |
| Kitchen | Stove, fuel, cookware, cooler | Fire starter, dish soap |
| Clothing | Layers, rain shell, extra socks | Warm hat, gloves |
| Safety | First aid kit, map, flashlight | Whistle, power bank |
4. Choosing the Right Tent and Shelter
The tent is usually the single biggest gear decision of the trip, and it’s worth choosing based on the actual conditions you’ll face rather than the biggest or cheapest option available. Consider group size, expected temperature range, and how much weight you’re willing to carry if the site requires any walk-in distance. A general rule is to size up by one person — a “4-person” tent fits four sleeping bags snugly with no room for gear, so a couple wanting extra space often does better with that size than a “2-person” model.
Our comparison of the best camping tents breaks down options by season rating, weight, and ease of setup, which matters more than it sounds — a tent that takes 30 minutes to figure out in the driveway is far more frustrating to pitch for the first time as it’s getting dark at the campsite.
Ground conditions matter as much as the tent itself. On rocky or hard-packed ground, standard stakes bend or simply won’t drive in, which is where our guide to the best tent stakes for rocky ground becomes useful — swapping to stronger stakes before the trip is far easier than improvising with rocks once you’re there.
Beyond the tent itself, a footprint (a ground cloth cut slightly smaller than the tent’s base) protects the floor from abrasion and adds a small amount of extra waterproofing against ground moisture. It’s an inexpensive add-on that meaningfully extends the life of the tent floor, especially on gravel or root-covered ground where a bare floor picks up small punctures over repeated trips.
Dome Tents — Pros
- Fast, intuitive setup
- Good wind stability
- Widely available at low price points
Dome Tents — Cons
- Less headroom near the walls
- Smaller footprint for the weight
5. Sleeping Systems: Pads, Bags, and Cots
Sleep quality outdoors comes down to three things working together: insulation underneath you, warmth around you, and a bit of comfort in between. Skipping the sleeping pad is one of the most common mistakes new campers make — a sleeping bag alone provides almost no insulation against the cold ground, since your body weight compresses the bag’s loft directly beneath you. A pad’s R-value (its insulation rating) matters more in cold weather than the sleeping bag’s temperature rating does.
If you’re camping somewhere the temperature drops significantly overnight, read our guide on how to keep a tent warm at night, which covers layering strategies beyond just gear — things like eating a warm meal before bed and avoiding tight-fitting base layers that restrict circulation.
For winter or shoulder-season trips specifically, our comparison of the best sleeping pads for winter camping highlights which pads perform at low temperatures without the excess weight of a true expedition-grade pad. If ground sleeping isn’t comfortable for you, a camping cot raises you off the cold ground entirely and works well for side sleepers in particular — our roundup of the best camping cots for side sleepers compares padding thickness and frame stability across popular models.
6. Meal Planning and Camp Kitchen Setup
Meal planning is where a lot of trips either run smoothly or turn into a stressful scramble at every mealtime. The easiest approach is to plan every meal before the trip, write it down, and pack ingredients in the order they’ll be used, with breakfast items easy to reach and multi-day staples packed deeper in the cooler. One-pot meals are worth prioritizing for dinner, since they cut down on both cook time and dishes at the end of a long day.
For meal inspiration organized by trip length and cooking method, our camping food ideas guide covers no-cook options for the first night, easy skillet meals, and make-ahead dishes that only need reheating. Whatever method you choose, match it to your stove — our comparison of the best camping stoves covers boil times, fuel type, and how each model performs in wind, which matters more than most spec sheets suggest.
A camp kitchen setup benefits from a bit of structure even at a basic site: a designated prep surface, a system for separating raw food storage from ready-to-eat items, and a plan for trash and food waste that keeps wildlife away from the sleeping area overnight.
If anyone in the group has dietary restrictions or allergies, sort that out during the planning stage rather than at the cooler. Label separate containers, pack shared staples (oil, spices, condiments) in a way that avoids cross-contact, and double-check packaged trail snacks for allergen labeling, since ingredient lists can vary between similar-looking products. It’s a small amount of extra planning that avoids a genuinely bad situation miles from the nearest store.
| Meal | Best Cook Method | Prep Time |
|---|---|---|
| Breakfast | Camp stove, one pan | 10–15 min |
| Lunch | No-cook / cold prep | 5 min |
| Dinner | One-pot stove or foil packet fire meal | 20–30 min |
7. Packing the Vehicle and Camp Layout
Loading the vehicle well saves real time and frustration both at departure and on arrival. The general principle is to load in reverse order of use: heaviest, least-needed items (coolers, water jugs, firewood) go in first along the base, mid-priority gear like the tent and chairs go in next, and anything you’ll need immediately on arrival — rain gear, snacks, the first-aid kit — goes in last, on top, where it’s the first thing you see when you open the trunk.
If you’re short on space, a rooftop cargo carrier or a dedicated camping backpack for overflow gear can make a real difference, especially for larger groups or longer trips where coolers and bulky sleep systems compete for the same trunk space.
Once you’re at the site, the same layering logic applies to the camp itself. Set up in zones: a sleeping zone (tent, away from the fire and cooking smells), a cooking zone (stove or fire ring, food storage), and a gathering zone (chairs, table) that sits between the two. This keeps food smells away from the tent — a meaningful consideration in bear country — and keeps the cooking area from feeling cramped once everyone’s gear is unpacked.
8. Weather Preparedness and Contingency Plans
Weather is the single biggest variable in any camping trip, and the difference between a rough night and a genuinely miserable one usually comes down to preparation rather than the weather itself. Before the trip, check not just the general forecast but the specific elevation and microclimate of the campsite, which can differ significantly from the nearest town’s forecast, especially in mountainous or coastal areas.
If rain is even a possibility, waterproofing matters more than people expect. Read through our guide on how to make a tent waterproof before the trip — reapplying seam sealer and a waterproof spray on an older tent takes under an hour and can be the difference between a dry night and a flooded tent floor. Our companion piece on camping in the rain covers what to actually do once you’re on-site and the weather turns, from tarp placement to keeping gear dry inside the tent.
Condensation is a separate issue from rain and catches a lot of campers off guard — waking up to a damp tent interior even though it never rained overnight. This happens from trapped humidity and poor ventilation, and our guide on how to stop condensation in a tent explains the ventilation adjustments that fix it. If you’ve dealt with this before and aren’t sure why, why is my tent wet inside walks through the most common causes.
Layering is the practical answer to most weather uncertainty, whether the concern is rain, cold, or a big temperature swing between day and night. A base layer that wicks moisture, an insulating mid-layer, and a waterproof outer shell cover the vast majority of conditions you’ll encounter at a typical campsite, and each layer can be added or removed independently as the day changes rather than committing to one heavy outfit for the whole trip.
9. Campfire and Cooking Safety
A campfire is one of the best parts of camping and one of the easiest things to get wrong safely. Before lighting anything, check whether fires are permitted at all — many parks impose seasonal fire bans during dry conditions, and violating one carries real fines in most jurisdictions. Always use an existing fire ring where one is provided, keep the fire well clear of tents and overhanging branches, and never leave it unattended, even for a few minutes.
Keep a way to fully extinguish the fire within reach at all times — a full bucket of water or a shovel for dirt, not just a water bottle. A fire is only truly out when the ashes are cool to the touch; “no visible flame” is not the same as out, and this is one of the leading causes of wildfires started by campers.
Cooking safety follows similar logic. Keep raw meat and food prep away from sleeping areas, store food in a sealed container or vehicle overnight rather than leaving it out, and never cook inside a tent, even in bad weather — the carbon monoxide risk from a stove in an enclosed space is genuinely dangerous, not just a minor precaution.
If a fire ban is in effect, a camp stove becomes the only cooking option, so it’s worth confirming ban status before packing rather than after arriving with only firewood and no backup plan. Most park and forest service websites post current fire restrictions, and calling the ranger station directly is a reliable way to get an up-to-date answer when the website hasn’t been refreshed recently.
Safe Campfire Habits
- Use the existing fire ring
- Keep water or dirt within reach
- Fully extinguish before sleep
Common Mistakes
- Leaving a fire unattended “for a minute”
- Burning trash or packaging
- Assuming no flame means it’s out
10. Setting Up Camp Efficiently
Arriving at a site with a plan for setup order saves daylight, which matters more than it seems until you’re pitching a tent by headlamp. On arrival, walk the site first before unloading anything — check for a level tent pad, drainage direction (avoid low spots that pool water), and distance from the fire ring and any bathroom facilities.
Set up in this order: tent first (while there’s still full daylight to see stakes and guy lines clearly), then the kitchen area, then camp furniture. Practicing the tent setup once at home before the trip — even just unrolling it in the backyard — makes a meaningful difference for anyone using new gear for the first time, since fumbling with unfamiliar poles in the dark is a common source of first-night frustration.
Once the tent is up, stake it fully even if the weather looks calm. Conditions can shift quickly, especially near open fields or elevated sites, and a properly staked and guyed-out tent is dramatically more stable in sudden wind than one that’s just weighted down with gear inside.
Leave a bit of daylight buffer for the unexpected, too. Reserved sites aren’t always exactly as described, a neighboring site might be closer or noisier than expected, and occasionally a swap to a backup spot is the right call. Arriving with two or three hours of daylight to spare, rather than pulling in right at sunset, gives enough room to adjust without setup turning into a rushed, stressful scramble.
11. Wildlife, Bugs, and On-Site Safety
Wildlife encounters are rare at most developed campgrounds, but a bit of preparation goes a long way toward keeping it that way. Store all food, trash, and scented items (toothpaste, sunscreen) in a vehicle or bear-proof container overnight rather than in the tent, and never keep food inside a tent even for a short nap — animals are drawn by smell, not by whether food is currently visible.
Bugs are the more common nuisance on most trips, especially near water or in humid climates. Our guide on how to keep bugs away while camping covers both repellent options and simple setup choices — like avoiding standing water near the tent and timing campfire smoke — that reduce mosquito activity without relying on chemical spray alone.
If you’re bringing a dog along, a bit of extra planning helps keep both the dog and the campsite in order. Our guide on camping with a dog covers leash rules at most parks, food storage adjustments, and gear worth bringing for a dog’s first night sleeping outdoors. General site safety is worth a broader look too — our camping safety tips guide covers everything from basic first aid to what to do if you get turned around on a trail near camp.
12. Leave No Trace and Breaking Camp
The final part of planning a camping trip happens on the last morning: packing up in a way that leaves the site in the same condition you found it, or better. The core principle behind Leave No Trace is simple — pack out everything you packed in, including food scraps and micro-trash like bottle caps or twist ties that are easy to overlook in the grass.
Before leaving, fully extinguish the fire and confirm the ashes are cool, then check the ground where the tent stood for stakes, guy line stakes, or trash that got tucked under a rainfly overnight. Break camp in reverse order from setup: kitchen and furniture first, then the tent last, once everything else is packed and there’s nothing left needing shelter from the weather.
A final site walk-through — a slow lap of the campsite looking specifically for anything left behind — takes under five minutes and catches the small items that get missed in the rush to load the car. It’s also worth a quick look at neighboring sites if you noticed any litter; picking it up costs nothing and keeps the whole area in better shape for the next visitor.
Once you’re home, a quick gear check before everything goes back into storage saves problems on the next trip. Air out the tent fully before folding it away to prevent mildew, check the stove and fuel canisters for leaks, and note anything that needs replacing — a bent stake, a worn zipper, a nearly empty first-aid item — while it’s still fresh in mind rather than discovering it while packing for the next trip.
Frequently Asked Questions
How far in advance should I plan a camping trip?
For popular campgrounds during peak season, book 2–6 months ahead if possible. For dispersed or first-come, first-served sites, a week or two of planning is usually enough, though arriving early in the day improves your odds of getting a good spot.
What’s the minimum gear needed for a first camping trip?
At minimum: a tent, sleeping bag and pad, a way to cook (stove or fire), a headlamp, water, a first aid kit, and appropriate clothing layers. Everything else is a comfort upgrade rather than a necessity.
How much food should I pack per person per day?
A common baseline is 1.5–2.5 lbs of food per person per day, adjusted up for cold weather or high physical activity like hiking, since both increase calorie needs significantly.
Should I camp near water or away from it?
Near water offers convenience and scenery but tends to bring more bugs and overnight condensation. If neither is a dealbreaker, choose based on convenience; if bugs are a major concern, look for sites set back from standing water.
What temperature rating should my sleeping bag have?
Choose a bag rated at least 10–15°F below the lowest overnight temperature you expect. Temperature ratings on most bags reflect survival, not comfort, so a buffer matters more than the label suggests.
Is it safe to camp alone?
Solo camping is generally safe at developed, reputable campgrounds. Share your itinerary with someone at home, choose a site with other campers nearby if it’s your first solo trip, and trust your instincts about any site that feels off.
How do I keep food safe from animals overnight?
Store all food, trash, and scented items in a vehicle or a certified bear-proof container, never in the tent. This applies even at campgrounds without a known bear presence, since raccoons and other smaller animals are just as persistent.
What should I do if it rains for the entire trip?
Set up a tarp shelter over the cooking and gathering area before the rain starts, keep a dry set of clothes sealed in a separate bag, and have a low-effort backup plan for meals that don’t require standing over a stove in the rain.
How do I choose between a tent and a hammock?
Tents work in more locations and handle group camping better; hammocks are lighter and comfortable in warm weather but need two solid anchor points and additional insulation underneath in cooler temperatures.
What’s the best way to stay warm at night without electricity?
Layer clothing rather than relying on one heavy layer, use an insulated sleeping pad rather than skipping it, and consider a hot water bottle placed in the sleeping bag before bed as a simple, reliable heat source.
Do I need a permit to camp?
Developed campgrounds typically require a reservation or paid site fee rather than a separate permit. Dispersed camping on public land sometimes requires a free permit, particularly during high fire-risk seasons, so check the specific land management agency’s website before the trip.
How do I plan a camping trip with young kids?
Choose a developed site close to facilities, keep travel time to the site short, pack extra layers and a full change of clothes, and build in more downtime than you think you’ll need, since kids tire faster in unfamiliar outdoor settings.
Final Thoughts
Planning a camping trip well isn’t about having the most gear — it’s about matching a handful of key decisions (site, dates, shelter, food, and safety) to the actual conditions you’ll face. Work through the steps in order, build your checklist by category rather than all at once, and leave a bit of buffer in both your food supply and your schedule. Once the planning is done, the trip itself tends to take care of itself.
For more detailed breakdowns of specific gear categories mentioned throughout this guide, browse the related articles below or head back to the camping hub for the full library of guides.
Shop All Camping Gear