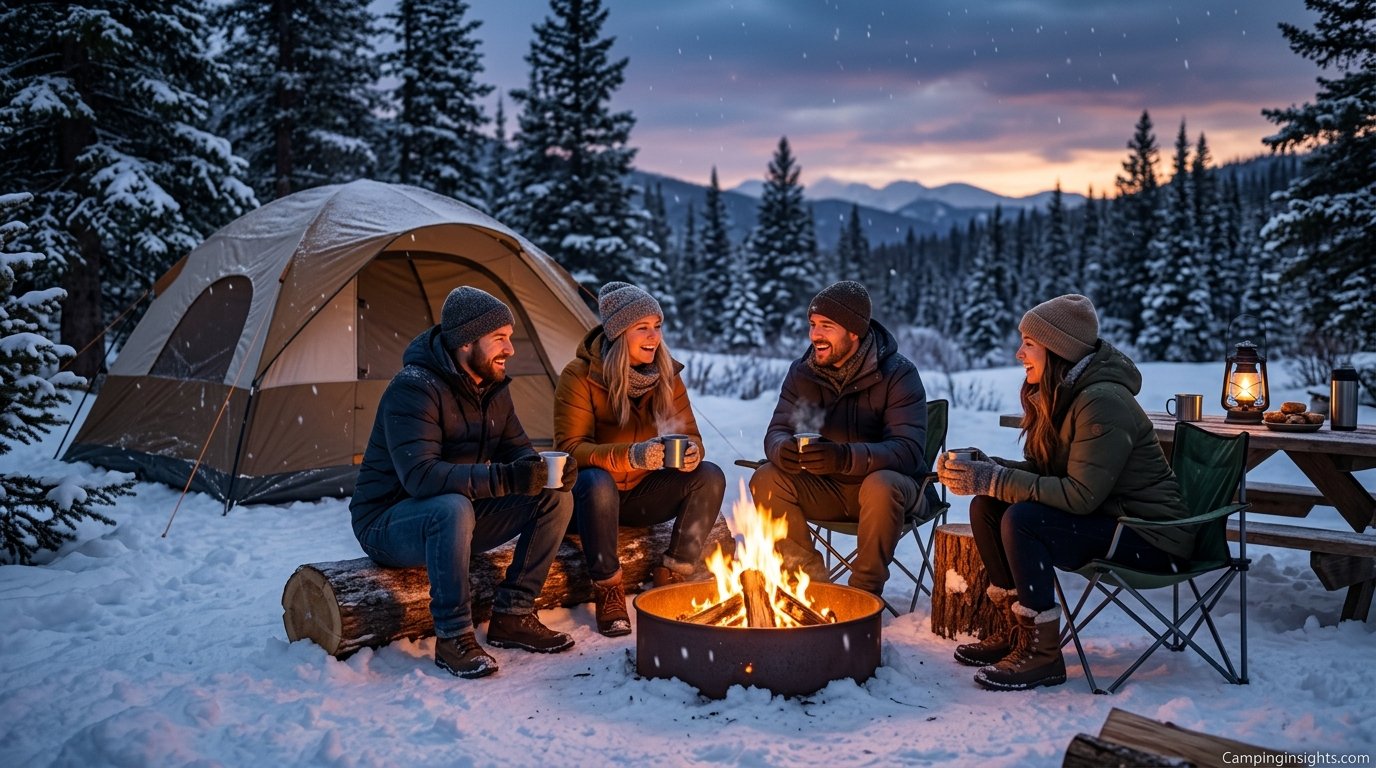
How to Stay Warm While Camping: The Complete Cold-Weather Survival Guide
From layering and sleep systems to campsite selection and emergency warmth tricks, here’s everything you need to stay comfortable when the temperature drops.
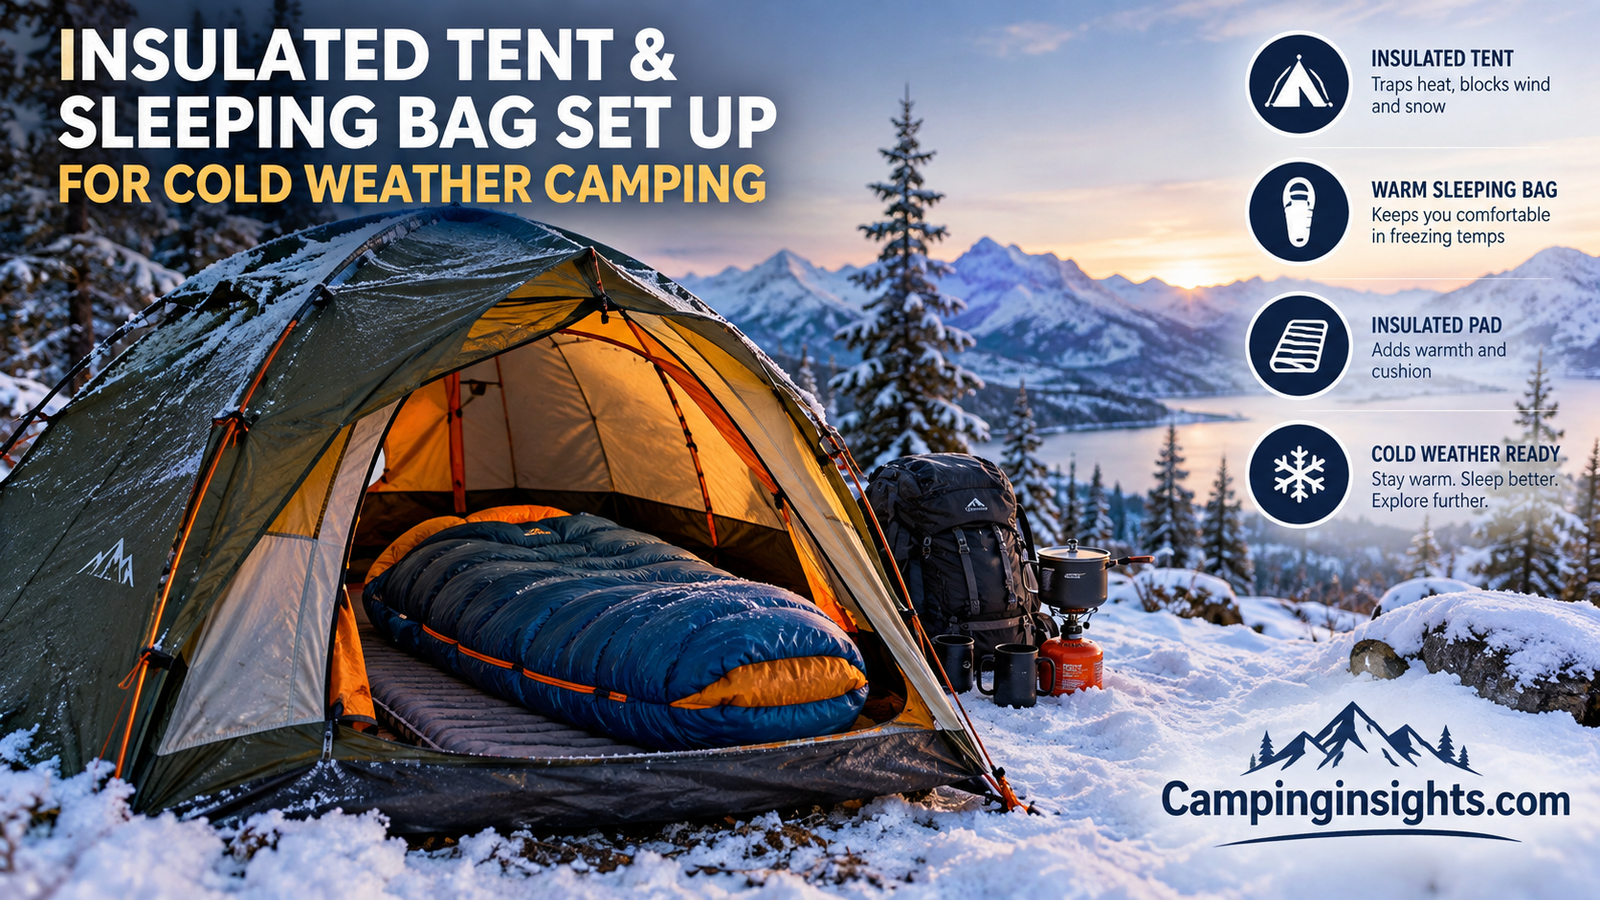
There’s a particular kind of misery that comes from being cold in a tent at 2 a.m., and anyone who has camped through a chilly night knows exactly what it feels like: the shivering, the sleeplessness, and the growing regret about every gear choice that led to that moment. The good news is that staying warm while camping isn’t about luck or toughing it out — it’s a system. Once you understand how your body actually loses heat outdoors and how to counter each of those pathways, cold nights stop being something you endure and start being something you’re simply prepared for.
This guide walks through the entire warmth equation, from the science of heat loss to the exact layering, sleep system, and campsite choices that keep experienced campers comfortable well below freezing. Whether you’re heading out for your first overnight trip or gearing up for a serious winter expedition, you’ll find a complete, practical framework here — not just a list of random tips.
1. Understanding How Your Body Loses Heat
Before you can stop heat loss, it helps to know how it actually happens. Your body loses warmth outdoors through five distinct mechanisms, and a good cold-weather strategy addresses all five rather than just the obvious ones.
Conduction is heat loss through direct contact with something colder — think of your body pressed against a cold sleeping pad or the ground. This is often the single biggest and most underestimated source of nighttime heat loss, which is why ground insulation matters just as much as your sleeping bag’s temperature rating.
Convection is heat stripped away by moving air. Wind chill is convection in action, and it’s why a windproof shell layer can make a bigger difference than an extra fleece. Radiation is the heat your body simply emits into the environment, especially from your head, neck, and extremities. Evaporation is heat lost as sweat or moisture leaves your skin — a major and often overlooked issue, since damp base layers pull warmth away far faster than dry ones. Finally, respiration — the simple act of breathing cold air and exhaling warm, humid air — contributes a steady, unavoidable trickle of heat loss all night long.
Every recommendation in this guide ties back to interrupting one or more of these five pathways. Once you start thinking in these terms, gear decisions become much easier to make. Instead of asking “is this jacket warm enough,” you start asking more useful questions: does this stop wind (convection), does it stay dry against my skin (evaporation), and does the system underneath me actually block the ground (conduction)? That mental shift alone prevents most of the classic cold-weather camping mistakes, like buying an expensive sleeping bag while skipping the sleeping pad entirely.
It’s also worth noting that cold tolerance varies quite a bit from person to person based on body composition, fitness, hydration, and even how well you slept the night before. Two campers with identical gear can have very different experiences on the same night, which is why this guide leans on layered, adjustable systems rather than a single fixed “formula.” Build in flexibility wherever you can, and pay attention to how your own body responds so you can fine-tune the system on future trips.
Grab a reliable base layer and insulated jacket combo before your next trip.
Shop Cold-Weather Layers on Amazon2. Choosing the Right Tent for Cold-Weather Camping
Your tent is your first line of defense, and not all tents are created equal when temperatures drop. A three-season tent designed primarily for ventilation and bug protection will leak warmth through mesh panels and won’t hold up well against sustained wind or snow load. If you’re regularly camping in cold conditions, a four-season or winter-rated tent — with fewer mesh panels, a lower profile, and a stronger pole structure — is worth the investment.
Look for a tent with a full-coverage rainfly that extends close to the ground, minimizing the gap where cold air and drafts sneak in. Vestibules matter too, since they give you a buffer zone to store cold, wet gear without bringing it into your sleeping space. If you already own a three-season tent, you can still camp comfortably in moderately cold weather by pitching it in a sheltered spot, adding a footprint, and combining it with the layering strategies covered later in this guide.
Tent size is another often-overlooked factor: a tent that’s dramatically oversized for your group means more air volume for your body heat to warm, while a snugger fit (without feeling cramped) actually helps the space retain warmth more efficiently. Pairing your shelter with sturdy anchoring is equally important — check out our guide to the best tent stakes for rocky ground if you’re setting up somewhere the ground fights back.
| Tent Type | Best For | Warmth Retention | Weight |
|---|---|---|---|
| 3-Season Tent | Spring, summer, mild fall | Low–Moderate | Lightest |
| Extended 3-Season / 3.5-Season | Shoulder-season cold snaps | Moderate | Light–Moderate |
| 4-Season Mountaineering Tent | Winter, snow, high wind | High | Heaviest |
| Hot Tent (with stove jack) | Deep winter, base camp | Very High | Heavy |
For a deeper breakdown of specific models across budgets, our best camping tents roundup covers options suited to a range of climates and group sizes, and if you camp through the coldest months regularly, our dedicated guide on how to keep a tent warm in winter goes even deeper on insulation add-ons like tent carpets and reflective liners.
A quality 4-season tent makes cold nights dramatically more bearable.
Browse 4-Season Tents on Amazon3. Mastering the Layering System
Layering is the single most important skill in cold-weather camping, and it applies whether you’re hiking into camp or sitting still at the campfire. The classic three-layer system works because each layer solves a different problem, and understanding what each one does lets you mix and match based on conditions rather than blindly piling on clothes.
The Base Layer: Moisture Management
Your base layer sits against your skin and its only job is to move sweat away from your body. Merino wool and synthetic materials like polyester excel here because they wick moisture while still insulating even when slightly damp. Cotton is the one fabric to avoid entirely in cold conditions — it absorbs moisture and holds it against your skin, accelerating evaporative heat loss exactly when you can least afford it.
The Mid Layer: Insulation
This is where you trap warm air close to your body. Fleece, down, and synthetic insulation all work by creating pockets of dead air space that your body heat warms up. Down offers the best warmth-to-weight ratio but performs poorly when wet, while synthetic insulation retains more of its insulating power even in damp conditions — a meaningful consideration if rain or snow is in the forecast.
The Outer Layer: Wind and Moisture Protection
Your shell layer blocks wind and precipitation from stripping away the warmth your base and mid layers have built up. A quality shell doesn’t need to be heavily insulated itself; its job is purely to be a barrier. Look for a jacket that’s both waterproof and breathable so you don’t end up soaked in your own sweat underneath a “warm” but non-breathable shell.
Smart Layering Wins
- Easy to add or remove layers as activity level changes
- Prevents overheating and sweating during hikes to camp
- Keeps damp layers away from your skin
- Adapts to sudden weather shifts
Layering Mistakes
- Wearing cotton next to skin
- Overdressing and sweating through layers
- Ignoring extremities (hands, feet, head, neck)
- Sleeping in the same sweaty clothes worn all day
Don’t forget your extremities: a significant amount of perceived body heat is lost through your head and hands, so a warm hat and insulated gloves are not optional extras — they’re core parts of the system. Wool or synthetic socks (again, never cotton) and a neck gaiter or buff round out a setup that protects every major zone of heat loss.
One layering principle that trips up a lot of newer campers is the idea of adjusting layers based on activity, not just the outside temperature. If you’re hiking to your campsite, you’ll likely overheat if you’re wearing everything you plan to sleep in — a common mistake that leads to a soaked base layer just as the sun goes down and temperatures start dropping. A better approach is to start slightly cool during activity, venting or removing a layer as your body warms up, and then re-layering as soon as you stop moving and your body’s heat production drops off. Zippered vents, roll-up sleeves, and jackets with pit zips make this kind of on-the-fly adjustment much easier than an all-or-nothing outfit.
Build a complete layering system with merino base layers and an insulated puffy jacket.
Shop Layering Essentials on Amazon4. Step-by-Step: Building a Cold-Weather Sleep System
Nighttime is when most campers actually get cold, because you’re motionless for hours and conduction against the ground becomes the dominant threat. Building your sleep system correctly, layer by layer, is the difference between a genuinely restful night and one spent shivering in a bag that “should” have been warm enough. Follow these six steps in order every time you pitch camp in cold conditions.
Step 1: Lay Down a Footprint or Ground Tarp
Start with a footprint sized slightly smaller than your tent floor, placed underneath it. This creates a barrier against ground moisture and cold before any of your sleeping gear even goes down, and it protects your tent floor from abrasion and punctures at the same time.
Fig. 1 — The footprint sits between bare ground and the tent floor, blocking moisture and cold before it reaches your sleeping area.
Step 2: Add an Insulated Sleeping Pad
Your sleeping pad is arguably more important for warmth than your sleeping bag, because it’s the only thing fighting conductive heat loss into the ground. Pads are rated with an R-value; for cold-weather trips, look for a pad rated R-4 or higher. Our guide to the best sleeping pad for winter camping breaks down specific R-value recommendations by season.
Fig. 2 — An R-4+ pad sits above the footprint, creating the primary barrier against conductive heat loss.
Step 3: Double Up With a Closed-Cell Foam Pad
For serious cold, stack a thin closed-cell foam pad underneath or on top of your inflatable pad. This “double-pad method” adds extra R-value, and the foam pad also protects your inflatable pad from punctures if you’re on rocky or uneven ground.
Fig. 3 — Stacking a foam pad with an inflatable pad adds R-value and backup insulation if one pad fails.
Step 4: Choose the Right Sleeping Bag and Add a Liner
Pick a bag rated at least 10-15°F below the lowest temperature you expect — manufacturer “comfort” ratings tend to run optimistic. A mummy-style bag with a hood traps heat far more efficiently than a rectangular bag because it minimizes dead air space. Adding a fleece or silk liner can boost warmth by an extra 5-15°F while also keeping the bag’s interior cleaner.
Fig. 4 — A liner nested inside a mummy bag adds significant warmth without adding much bulk.
Step 5: Add a Hot Water Bottle at Your Feet
Fill a leak-proof, heat-safe bottle with hot (not boiling) water and tuck it near your feet about 20-30 minutes before bed. Feet are typically the first extremity to get cold, and this simple trick can keep a bag noticeably warmer for hours.
Fig. 5 — A sealed hot water bottle placed near the feet radiates warmth throughout the bag for hours.
Step 6: Seal the System With a Top Quilt or Blanket
Finish by laying a wool or synthetic blanket over the top of your sleeping bag. This adds a final insulating layer and helps trap the warm air pocket your body has already created, while leaving your face uncovered so you can breathe freely without adding moisture inside the bag.
Fig. 6 — A top blanket traps additional warmth while keeping the face clear for safe, dry breathing.
For extra warmth retention overnight, pair this system with the tips in our how to keep a tent warm at night guide, and if you camp on uneven ground or prefer sleeping off the dirt entirely, our review of the best camping cot for side sleepers covers insulated cot options that work well with this same layered approach.
A properly rated sleeping bag and insulated pad are the backbone of any warm night outdoors.
Shop Cold-Weather Sleeping Bags5. Insulating Yourself From the Ground
It’s worth dwelling further on ground insulation because it’s consistently underestimated by newer campers who assume a thick sleeping bag alone will keep them warm. The ground is a massive heat sink, constantly pulling warmth out of anything that touches it, and a sleeping bag compressed beneath your body weight loses most of its loft exactly where you need it most.
Beyond the pad stacking covered in the previous section, consider adding an insulated ground tarp or foam tiles inside your tent’s living area, not just under your sleeping spot. This keeps your feet warmer when you’re sitting up changing clothes or organizing gear, and it reduces the overall chill radiating up from the tent floor. If you’re car camping rather than backpacking, packing an extra layer of interlocking foam mats is a cheap, effective upgrade that backpackers often can’t justify due to weight.
| Insulation Layer | Approx. R-Value Added | Weight Trade-off |
|---|---|---|
| Ground footprint/tarp | Minimal (moisture barrier) | Very Light |
| Standard inflatable pad | R-2 to R-3 | Light |
| Winter-rated inflatable pad | R-4 to R-6.9+ | Moderate |
| Closed-cell foam pad (stacked) | +R-2 to R-2.5 | Moderate |
| Interior foam floor tiles | Adds ambient warmth to tent floor | Heavier (car camping only) |
Stack an inflatable pad with a closed-cell foam layer for maximum ground insulation.
Shop Foam Sleeping Pads on Amazon6. Stopping Condensation and Dampness Before It Chills You
Damp gear is cold gear, no matter how well-rated it is on paper. Condensation forms inside a tent when warm, moist air from your breathing and body heat meets the cold tent walls, and if left unmanaged it soaks into sleeping bags, clothing, and gear, dramatically reducing their insulating power right when you need it most.
Ventilation is the primary defense: crack a vent or window slightly even on cold nights, since a fully sealed tent traps humid air with nowhere to go. Avoid cooking inside your tent, as this adds a huge amount of moisture to the air very quickly. Brushing snow or frost off your tent’s exterior before it melts, and avoiding drying wet clothing inside the sleeping area, both go a long way toward keeping your gear dry through the night. If you regularly wake up to a damp tent interior, our full breakdown of how to stop condensation in a tent covers airflow patterns and specific product fixes in more detail, and our related guide answering why is my tent wet inside walks through diagnosing whether you’re dealing with condensation versus an actual leak.
Speaking of leaks, a tent that isn’t properly weatherproofed will let moisture in regardless of how well you manage condensation from the inside. If your rainfly or seams are older or showing wear, reviewing how to make a tent waterproof before a cold-weather trip is worth the twenty minutes it takes.
A quality tent footprint and seam sealer keep moisture out and warmth in.
Shop Tent Waterproofing Supplies7. Choosing the Right Campsite for Warmth
Where you pitch your tent matters just as much as what’s inside it. Cold air sinks, so valley bottoms and low-lying areas near water tend to be noticeably colder overnight than a spot slightly elevated on a slope. At the same time, avoid fully exposed ridgelines or open fields where wind has nothing to slow it down — wind chill can undo the benefit of even excellent gear.
Look for natural windbreaks like a treeline, rock formation, or gentle hillside that blocks prevailing wind without funneling cold air directly at your tent. Morning sun exposure is a smaller but genuinely helpful factor too — a site that catches early light will warm up faster once the sun rises, making mornings noticeably more pleasant. Our full guide on how to choose a campsite covers additional factors like drainage and safety that matter alongside warmth.
Good Cold-Weather Site Traits
- Slightly elevated, not in a valley bottom
- Natural windbreak (trees, rocks, terrain)
- Catches morning sun
- Well-drained ground
Sites to Avoid in Cold Weather
- Low valley floors and depressions
- Fully exposed ridgelines
- Directly beneath large snow-laden branches
- Near still water where cold air pools
A reliable set of stakes helps you secure a windbreak-friendly site on any terrain.
Shop Tent Stakes on Amazon8. Fire, Stoves, and Safe Heat Sources
A well-managed campfire is one of the best ways to stay warm during evening hours, and it does double duty by drying out damp gear before bed. Build your fire in a sheltered spot, use a reflective backing like a rock wall or fire reflector to bounce heat back toward your seating area, and keep a good supply of dry wood on hand so the fire doesn’t fade right when you need it most.
Portable camping stoves are useful beyond cooking — boiling water for hot drinks or a hot water bottle (as covered in Step 5 above) is one of the most efficient uses of stove fuel on a cold trip. Our best camping stove review compares options suited to cold-weather reliability, since some canister fuels perform poorly in freezing temperatures.
A critical safety note: never bring a fire, charcoal grill, or fuel-burning stove inside a tent or enclosed space. These produce carbon monoxide, an odorless gas that can be fatal even in small enclosed spaces, and tents are never adequately ventilated for this kind of heat source. Battery-powered heated gear (heated socks, jackets, and portable electric blankets rated for outdoor use) is a far safer alternative if you want supplemental heat inside your tent. For a broader rundown of what to watch for on cold trips, our camping safety tips guide covers this and other seasonal hazards in more depth.
A reliable cold-weather stove makes hot food, hot drinks, and hot water bottles quick and easy.
Shop Camping Stoves on Amazon9. Eating and Hydrating to Fuel Your Internal Furnace
Your body generates a significant amount of its own heat through metabolism, which means food is quite literally fuel for staying warm. Cold-weather trips call for calorie-dense meals, and a warm dinner eaten shortly before bed gives your body something to actively work on digesting through the night, which helps sustain core temperature.
Hydration matters more than most people expect in cold weather, too, since dehydration reduces your body’s ability to regulate temperature effectively — and it’s easy to under-drink in cold conditions because you don’t feel as thirsty as you would in summer heat. A warm drink before bed, like herbal tea or hot chocolate, adds a small but real internal warmth boost (skip caffeine and alcohol late in the evening, since both interfere with your body’s ability to regulate temperature overnight). If your morning routine includes coffee, our guide on how to make coffee while camping covers several no-fuss brewing methods that work well even in freezing temperatures. For broader meal planning ideas suited to cold trips, browse our full list of camping food ideas.
It helps to plan your cold-weather menu around foods that are both calorie-dense and quick to prepare, since standing around a cold campsite fumbling with an elaborate recipe is the last thing you want after dark. Foods high in fats and complex carbohydrates — think nuts, cheese, oats, and hearty stews — digest slowly and provide a sustained release of energy through the night, which lines up well with the goal of keeping your internal furnace running while you sleep. Pre-portioning meals at home and using a single-pot approach also cuts down on the time your hands spend exposed to the cold while cooking, which matters more than it might seem after a long, chilly day outdoors.
Stock up on lightweight, calorie-dense meals built for cold-weather trips.
Shop Camping Meals on Amazon10. Weatherproofing Against Rain and Wind
Wet gear and moving air are two of the fastest ways to undo an otherwise solid warmth strategy. Rain that gets past your rainfly or seeps in through worn seams turns dry insulation damp almost immediately, while wind that finds any gap around your tent’s base will steal heat far faster than still cold air ever could. Treating these two threats as equally important as temperature itself will save a lot of miserable nights.
Stake out your rainfly taut and low to the ground to eliminate flapping gaps, use guy lines in windy conditions for extra stability, and pack a few dry bags to keep spare clothing and your sleep system’s core pieces bone-dry no matter what the weather does. Our dedicated guide on camping in the rain covers additional setup tricks, gear choices, and site selection tips specifically for wet conditions, which pair directly with everything covered in this guide’s campsite section above.
Wind deserves special attention on its own, separate from rain. Even a light, steady breeze passing over exposed skin or through a poorly sealed tent can drop the effective temperature you feel by a significant margin, which is exactly why wind chill catches so many campers off guard. Beyond choosing a sheltered site, small setup details make a real difference: orient your tent door away from the prevailing wind direction, keep guy lines taut rather than slack, and double check that your vestibule zippers close fully so a gust can’t sneak in and chill the interior overnight.
Dry bags and a solid rain shell keep your entire warmth system protected.
Shop Dry Bags on Amazon11. Cold-Weather Gear Checklist
Bringing the right gear list in the first place prevents most cold-weather problems before they start. Beyond the layering and sleep system items already covered, a few additional pieces round out a complete cold-weather kit: an insulated hat and gloves, wool socks (pack extras — wet socks are a fast track to cold feet), hand and toe warmer packets as a backup, a headlamp with fresh batteries (cold drains batteries faster), and a basic repair kit in case a pole, zipper, or seam fails in the field. Our best tent repair kit guide covers compact options worth throwing in your pack.
If you’re newer to camping generally, our broader camping checklist for beginners and detailed camping checklist of what to bring are useful starting points to build from before layering in the cold-specific items covered here.
| Category | Key Items |
|---|---|
| Shelter | 4-season or well-sealed tent, footprint, extra guy lines |
| Sleep System | Rated sleeping bag, liner, insulated pad, foam pad |
| Clothing | Base layer, mid layer, shell, insulated hat, gloves, wool socks |
| Heat & Food | Stove, cold-rated fuel, calorie-dense meals, hot water bottle |
| Safety | Headlamp, repair kit, first aid kit, extra dry socks |
Stay organized with a complete cold-weather camping gear kit.
Shop Cold-Weather Gear on Amazon12. What to Do If You Start Getting Too Cold
Even with good preparation, it’s worth knowing what to do if you or someone in your group starts getting genuinely too cold rather than just uncomfortable. Early signs include persistent shivering, cold hands and feet that don’t warm up with movement, and a general drop in energy or mood. If shivering stops but the person still feels cold, confusion sets in, or speech becomes slurred, these are signs of more serious hypothermia and require immediate action — get the person into dry clothing, into a warm sleeping bag, and provide warm (not hot) drinks if they’re alert enough to safely swallow, while seeking medical help if symptoms don’t improve quickly.
For milder cold discomfort, the fix is usually straightforward: add a dry layer, do some light movement like jumping jacks to generate body heat, eat something calorie-dense, and check that your sleep system doesn’t have a gap letting cold air in. Cuddling for shared body heat, adding an extra hot water bottle, and double-checking that damp clothing isn’t secretly the culprit all solve the majority of “I’m cold and don’t know why” situations in the field.
It’s also worth doing a quick mental checklist before assuming you simply need “more gear.” Ask whether your base layer is actually dry, whether your sleeping pad has lost air overnight (a slow leak is a surprisingly common and easily missed culprit), and whether wind is finding its way through a gap in your tent setup. Cold that comes on gradually over the course of an evening is usually a layering or moisture problem you can fix on the spot, while cold that hits suddenly and doesn’t improve with a dry layer and movement is more likely a sign that conditions have shifted and it’s time to reassess the whole plan, including whether it’s safer to pack up and move to a more sheltered location.
Final Thoughts: Warmth Is a System, Not a Single Product
Staying warm while camping isn’t about buying the single most expensive sleeping bag on the shelf — it’s about building a complete system where your tent, layering, sleep setup, campsite choice, and food all work together to counter the specific ways your body loses heat. Get the fundamentals right, from ground insulation to a properly sealed rainfly, and cold nights outdoors become genuinely enjoyable rather than something to dread.
Ready to gear up? Start with the essentials covered in this guide, and browse our full camping resource hub for more in-depth guides on everything from campsite selection to trip planning.
Frequently Asked Questions
What is the best way to stay warm while camping?
The most effective approach combines a properly layered clothing system, an insulated sleeping pad with a high R-value, a sleeping bag rated below your expected low temperature, and a well-chosen, wind-sheltered campsite. No single item solves cold-weather camping on its own — it’s the combination that matters.
What temperature is too cold for camping in a tent?
With the right gear, most people can camp comfortably well below freezing. The real limiting factor is usually your gear’s rating rather than a fixed temperature — a properly equipped setup with a 4-season tent and appropriately rated sleeping bag can handle far colder conditions than a summer setup can.
Should I sleep in my clothes to stay warmer camping?
A light, dry layer of clothing (like a base layer) is fine and often helpful, but avoid sleeping in the same sweaty clothes you wore during the day, since trapped moisture will make you colder. Change into dry sleepwear specifically set aside for nighttime.
Does a bigger sleeping bag keep you warmer?
No — a bag that’s too roomy actually makes it harder for your body heat to warm the air inside it. A snugger, properly fitted mummy-style bag traps heat more efficiently than an oversized one.
How do I keep my tent warm at night without electricity?
Focus on insulation rather than active heating: a footprint, insulated ground pad, well-sealed rainfly, and minimizing airflow gaps all help retain the warmth your body already generates. Adding a hot water bottle to your sleeping bag before bed also helps significantly.
Is it safe to use a propane heater inside a tent?
Standard fuel-burning heaters are not safe inside an enclosed tent due to carbon monoxide risk and fire danger. If you want supplemental heat inside your tent, choose battery-powered heated gear specifically designed and rated for that purpose.
What should I wear to bed camping in cold weather?
A dry base layer, a warm hat, and clean socks are the core sleepwear essentials. Avoid over-layering to the point of restricting circulation, and make sure whatever you wear to bed is completely dry before you climb into your sleeping bag.
Why do my feet get cold first while camping?
Feet have less muscle mass generating heat and are often the last area to receive blood flow as your body prioritizes core warmth in cold conditions. Wool socks, insulated ground layers, and a hot water bottle at the foot of your bag all target this specific problem directly.
Can I camp warm with just a sleeping bag and no pad?
Not reliably — a sleeping bag alone does very little to stop conductive heat loss into the ground, especially once its insulation is compressed under your body weight. An insulated pad is essential, not optional, for a warm night’s sleep.
Does eating before bed actually help you stay warm camping?
Yes — digesting food raises your metabolic rate slightly, generating internal heat through the night. A calorie-dense dinner shortly before bed is a simple, effective way to support your body’s own warmth production.
How many layers should I wear camping in freezing temperatures?
Most people do well with a three-layer system (base, mid, and shell), but the exact number of layers matters less than the material choices and fit. Focus on moisture-wicking base layers, genuine insulation in the mid layer, and a windproof, waterproof outer shell.
Should I camp with a dog to help stay warm?
A dog can provide some extra shared body heat inside a tent, though it shouldn’t replace proper gear. If you’re planning a cold-weather trip with a pet, our guide to camping with a dog covers additional considerations for keeping them safe and comfortable too.